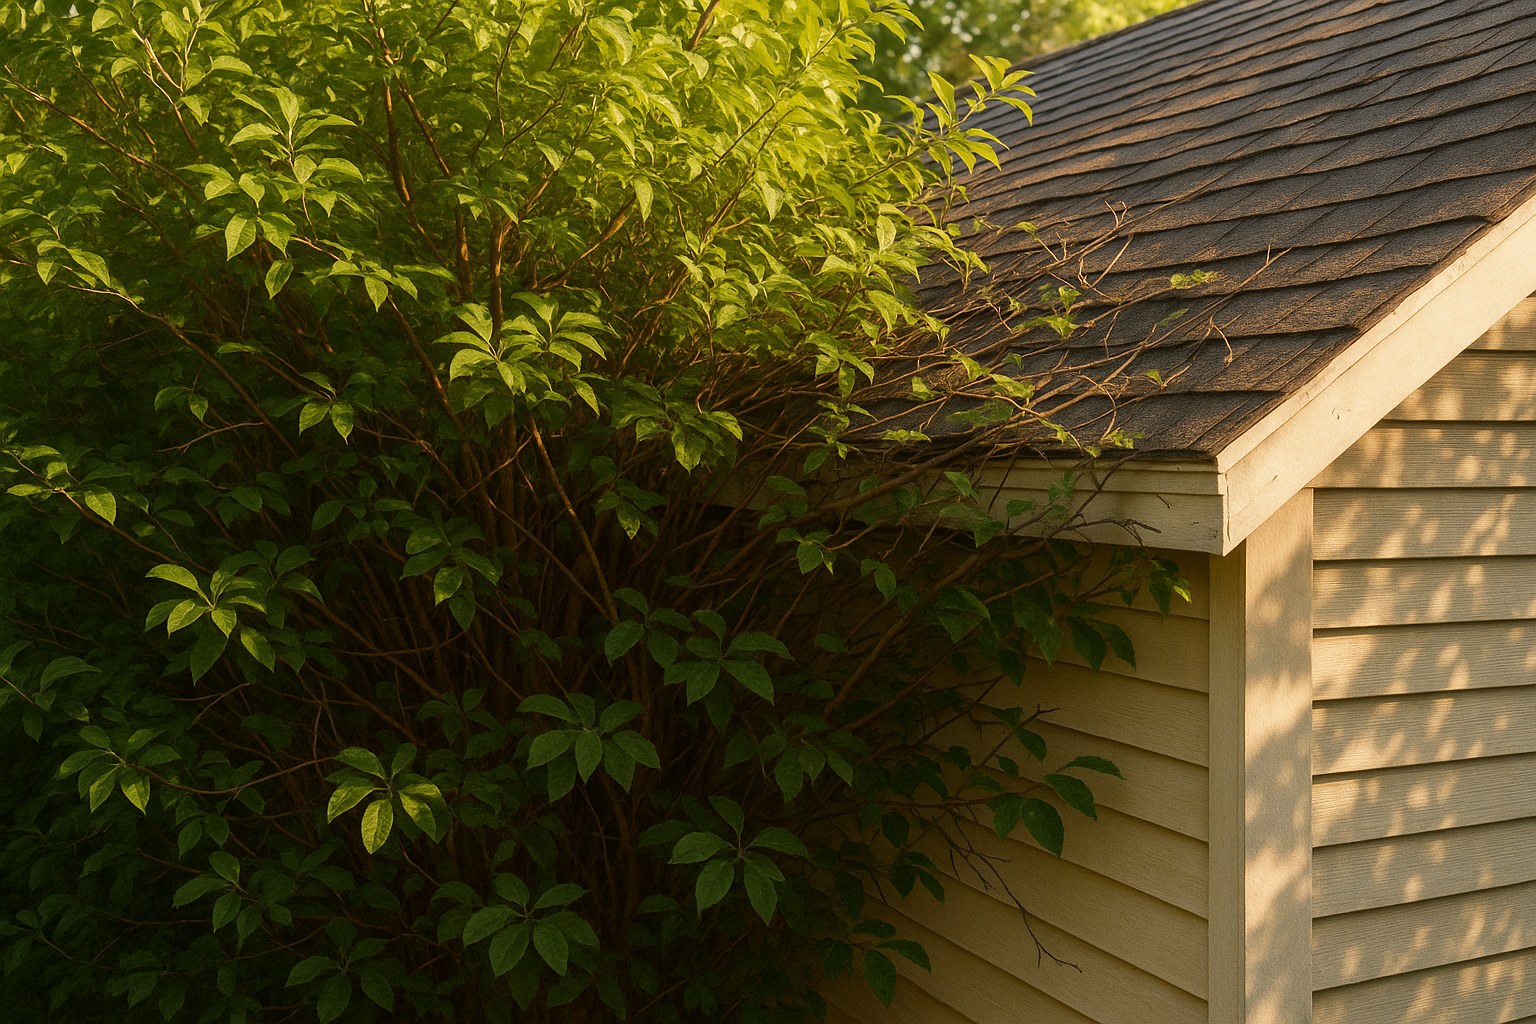
It’s easy to let landscaping go a little wild. One minute you have perfectly manicured shrubs, and the next, it seems like a rogue branch is plotting to take over your siding. While a lush garden is beautiful, overgrown shrubs and tree branches encroaching on your house are more than just a cosmetic issue—they can cause serious, expensive damage.
From trapping moisture against your walls to providing a superhighway for pests to enter your home, those out-of-control branches are a problem you shouldn't ignore. The good news is that trimming them back is often a manageable DIY task, as long as you approach it with a clear, safe plan.
I’m here to walk you through it, just like I would over the phone. We'll cover the critical safety checks, how to decide if this is a job for you or a professional, and the right way to make those cuts to protect both your plant and your property.
Why Trimming Overgrown Branches is a Non-Negotiable Home Maintenance Task
Before we grab the pruners, let's talk about why this is so important. Understanding the risks can motivate you to get this chore done right.
- Structural Damage: This is the big one. Branches constantly scraping against your siding can wear away paint and damage the material itself, whether it's vinyl, wood, or stucco. They can lift and tear roof shingles and clog or damage gutters, leading to water overflow and potential foundation issues.
- Pest Infestations: Overhanging branches act as a bridge for ants, spiders, squirrels, and rodents to get from the ground to your roof and, ultimately, into your attic or walls. Keeping a clear space around your home is a key part of pest control.
- Moisture and Mold: Vegetation traps moisture. When branches and leaves are pressed against your siding, they prevent air from circulating, creating a damp environment that’s perfect for mold, mildew, and wood rot.
- Reduced Lifespan of Exterior Finishes: The constant moisture and rubbing from plants can significantly shorten the life of your paint and siding, forcing you to repaint or make repairs much sooner than expected.
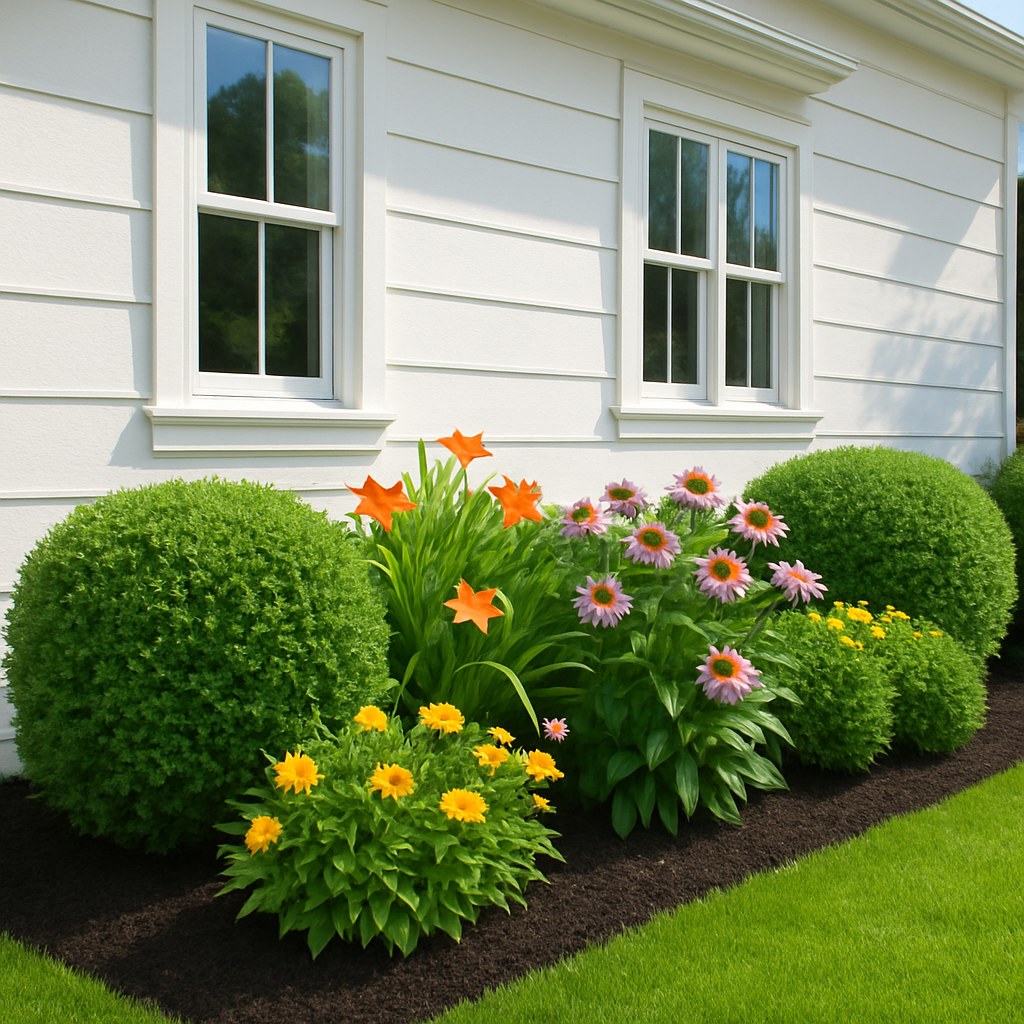
Maintaining at least one to two feet of clearance between any vegetation and your house is a widely recommended best practice by home maintenance experts. Let's get you there safely.
Step 1: The Pre-Trim Safety and Rule Check
Before you make a single cut, we need to do a quick but crucial assessment of the situation. This will determine if you can proceed or if you need to stop and call for help. Put on some safety glasses and walk around your property.
Check for Power Lines
This is the most important safety check. Look up. Are there any overhead power lines running above or near the overgrown plants?
- The 10-Foot Rule: If any part of the shrub or tree is within 10 feet of a power line, stop immediately. This is not a DIY job. The risk of electrocution is severe, and you could cause a power outage for your entire neighborhood.
- Who to Call: Contact your local utility company. They often provide tree trimming services near their lines for free. If not, they will advise you to hire a certified arborist who is specifically trained and insured to work near power lines.
Check Local Ordinances
Believe it or not, you may not have the legal right to trim certain trees on your property without a permit. Some municipalities protect specific species, sizes, or "heritage" trees.
- Look for Tags: Check for any official signs or tags on the tree.
- Consult Your City's Website: A quick search on your city's planning or parks department website should reveal any tree protection ordinances.
- Who to Call: If you're unsure, contact your local municipal arborist or planning department. It’s better to make a quick call than to face a potential fine.
Step 2: Assess the Job — Is This a DIY Project?
Once you've cleared the safety and rule checks, it's time to assess the physical task itself. Your ability to do this job safely depends on the height and size of the branches.
Scenario 1: Green Light for DIY (Ground-Level Work)
Can you easily reach all the encroaching branches from the ground, without using a ladder? Is the vegetation under 8 feet tall? If you answered "yes" to both, you're in a great position to tackle this yourself.
Scenario 2: Proceed with Caution (Ladder Work)
If the branches are higher (up to about 15 feet), you might still be able to handle it if you meet these conditions:
- You have a sturdy, reliable ladder that's tall enough for the job.
- You can place the ladder on firm, level ground.
- The branches you need to cut are relatively thin (less than 2 inches in diameter).
- You have a helper to stabilize the ladder.
If any of these conditions aren't met, it’s safer to call a professional.
Scenario 3: Red Light — Call a Professional Tree Service
It's time to call a pro if:
- The work is near power lines (as mentioned above).
- The branches are higher than 15 feet.
- The branches are thicker than 2-3 inches in diameter.
- You need to use a chainsaw.
- The ground is sloped or unstable, making ladder use unsafe.
Step 3: The Right Way to Trim and Prune
You’ve done your homework and are ready to start cutting. Here’s how to do it effectively and safely.
How to Trim Reachable Vegetation (From the Ground)
This is the most common scenario. Let's get it done right.
Tools You'll Need:
- Work Gloves
- Safety Glasses
- Hand Pruners (for stems up to ¾ inch)
- Loppers (for branches up to 1.5 inches)
The Process:
- Identify Your Targets: Pinpoint every branch or stem that is touching or is within one foot of your house.
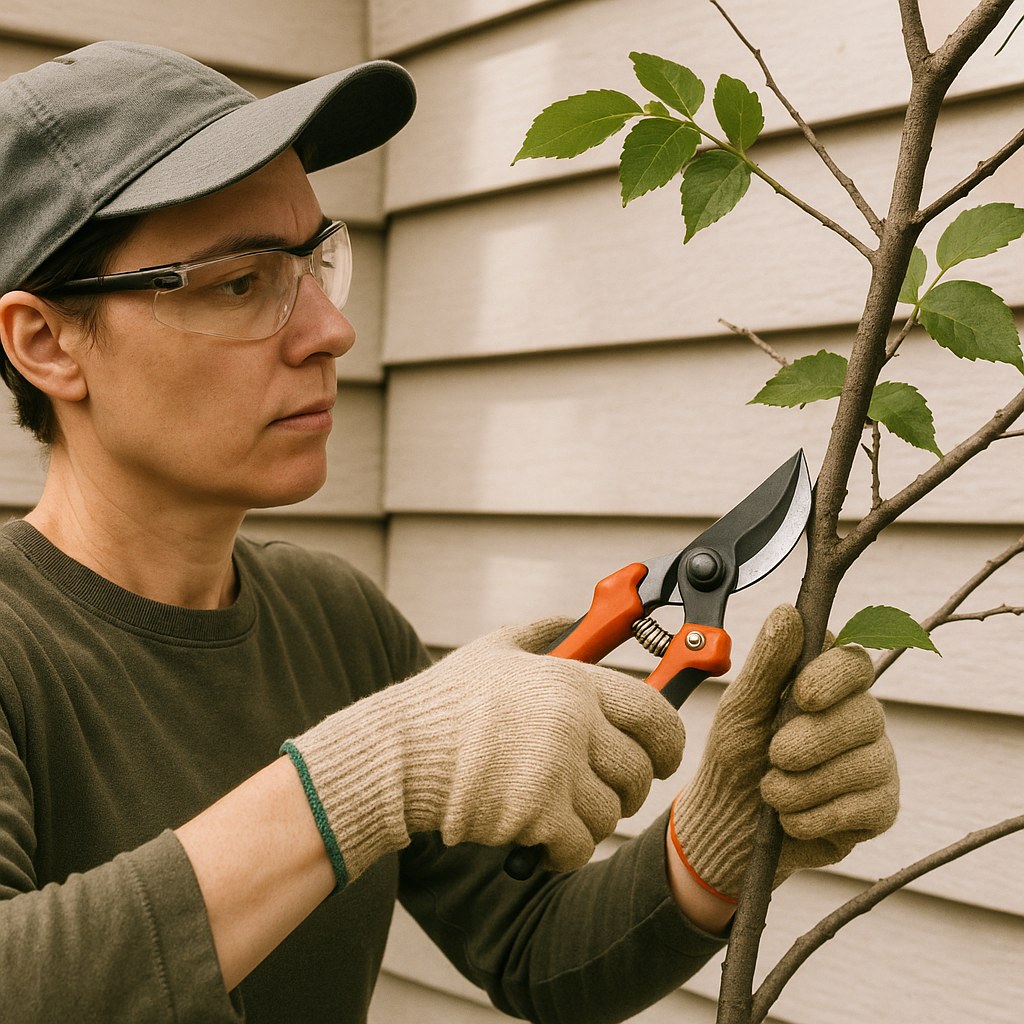
- Pruning Live Branches: To prune a live branch without harming the plant, look for the branch collar. This is the slightly swollen area where the branch grows out of the main stem. Position your pruners or loppers just outside this collar, at a 45-degree angle away from the main stem, and make a clean, smooth cut. Don't cut flush with the trunk, as this can damage the plant.
- Removing Dead Branches: Dead branches are brittle and can harbor pests. When cutting these, make your cut about an inch into the deadwood, just above where it meets healthy tissue. Wear an N95 mask if the wood looks decayed to avoid inhaling particles.
- Clear as You Go: Place the cut branches in a pile away from your work area to avoid tripping hazards.
- Step Back and Review: After a few cuts, step back to check your progress. Ensure you're creating that crucial 1-2 foot clearance zone around your house.
How to Safely Trim Higher Branches with a Ladder
If you've determined it's safe to proceed with a ladder, your preparation is just as important as the cutting.
Tools You'll Need:
- A sturdy, tall ladder
- A helper to brace the ladder
- Safety Glasses
- Work Gloves
- A Pole Pruner
The Process:
- Set Your Ladder Securely: Place the ladder on firm, level ground. Use the 4-to-1 rule: for every four feet of height you climb, the base of the ladder should be one foot away from the wall.
- Have Your Helper Ready: Your helper's only job is to hold the base of the ladder steady for the entire time you are on it.
- Climb Safely: Always maintain three points of contact with the ladder (two feet and one hand, or two hands and one foot).
- Position Yourself: Once you're at the correct height, get stable before extending the pole pruner. Do not overreach. It's better to climb down and move the ladder.
- Make the Cut: Position the cutting head of the pole pruner just outside the branch collar. Pull the rope to make a clean cut. Be aware of where the branch will fall—make sure it won't hit you, your helper, or the ladder.
- Descend and Clear: Wait for the branch to fall completely before climbing down. Move the fallen branches to your yard waste pile.
Step 4: After the Trim — Inspect for Damage
With the vegetation cleared, you now have a clear view of your home's exterior. Take this opportunity to inspect the siding, roof, and gutters that were previously covered. Look for scraped paint, cracked siding, damaged shingles, or any signs of moisture or rot. If you find any damage, it's best to address it quickly before it worsens.
When to Call a Pro and What to Expect
If you've determined the job is too big for a DIY project, a professional landscaper or a certified arborist is your best bet.
According to data from HomeGuide, professional shrub trimming can cost between $50 and $100 per hour, while more extensive tree trimming can range from $300 to over $1,200, depending on the size, location, and health of the tree. While it's an expense, it's a small price to pay for your safety and the health of your property.
Your Home's Health is in Your Hands
Tackling overgrown shrubs is a satisfying project that instantly boosts your home's curb appeal and protects it from long-term damage. By following a safety-first approach, you can confidently manage your landscape and keep your home in top shape.
For every home maintenance challenge, from simple DIY tasks like this to knowing when to call in the experts, Casa is here to help. Download the Casa app today to get personalized maintenance reminders, access more step-by-step guides, and connect with trusted, vetted professionals for the jobs you can't handle alone. Take control of your home maintenance with Casa.


