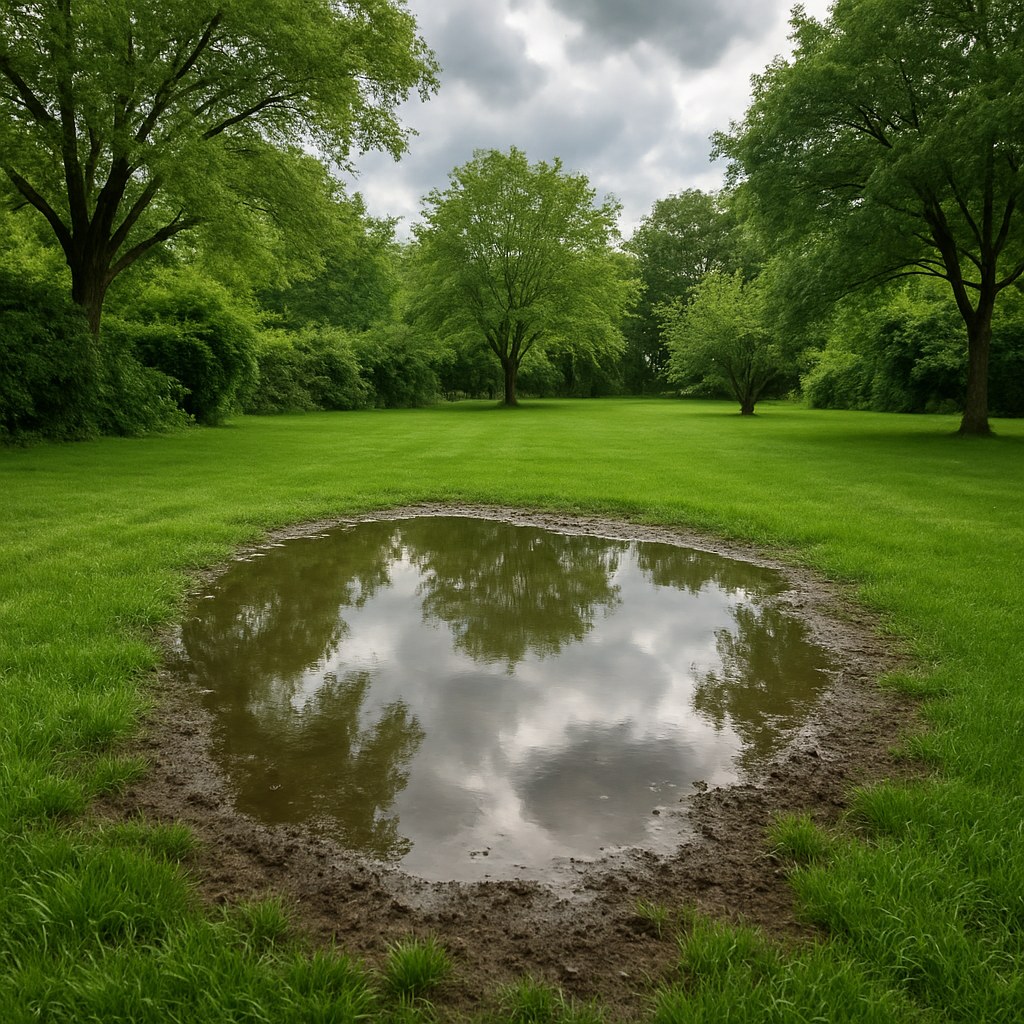
There's nothing quite like looking out at a lush, green lawn—unless it's dotted with unsightly, muddy puddles. A soggy yard is more than just a nuisance that gets your shoes dirty. Standing water can drown your grass, create a breeding ground for mosquitoes, and, in the worst-case scenarios, seep into your foundation, causing costly structural damage.
The good news is that you don't have to live with a swampy backyard. Many common drainage issues can be fixed with a little bit of detective work and some simple DIY effort. Whether you're dealing with temporary puddles after a storm or persistent soggy spots that never seem to dry, we're here to walk you through it.
Think of us as your expert on the line, ready to help you diagnose the problem and find the right solution. Let's get your yard back to being a beautiful, dry oasis.
Why Is There Standing Water in My Yard?
Before we dive into the fixes, let's talk about the common culprits behind poor yard drainage. Understanding the "why" will help you choose the right "how."
- Compacted Soil: Over time, foot traffic and heavy lawn equipment can compact the soil, squeezing out the air pockets that allow water to soak in. Clay-heavy soil is particularly prone to this issue.
- Improper Grading: Ideally, your yard should have a gentle slope that directs water away from your house. If your property is flat or, worse, slopes toward your foundation, water will inevitably pool.
- Low Spots: Natural depressions or low spots in your lawn act like bowls, collecting water with nowhere to go.
- Clogged Gutters and Downspouts: Your home's roof collects a massive amount of water during a storm. If your gutters are clogged or your downspouts aren't directing that water far enough away from your foundation, it will pool right where you don't want it.
- Blocked Yard Drains: If your yard has a built-in drainage system like a French drain, it can become clogged with sediment and debris over time, rendering it useless.
Now, let's figure out which of these issues is causing your soggy situation.
Your Step-by-Step Guide to Fixing Yard Puddles
We'll start with a simple observation test to determine how serious your drainage problem is. From there, we'll explore solutions for both temporary and persistent puddles.
Step 1: The 48-Hour Puddle Test
This first step is crucial because it helps us distinguish between a minor annoyance and a major problem.
- Wait for the Rain to Stop: After the next significant rainfall, head outside and take note of where water is collecting.
- Mark and Document: Use something temporary and safe for your lawn, like landscaping spray paint or a few small flags, to mark the edges of the puddles. Snap a few photos from different angles. This will be a helpful reference.
- Set a Timer: Now, you wait. Set a reminder on your phone to check back on the puddles in exactly 48 hours.
After 48 hours, go back and observe. Have the puddles disappeared, or are they still there? Your answer will guide you to the next step.
Step 2: If Your Puddles Disappear Within 48 Hours
Good news! If the water drains away on its own within two days, you're likely dealing with a less severe issue like a localized low spot or compacted soil. Here’s how to handle it.
Solution A: Fill and Regrade a Simple Low Spot
If you notice the water is confined to one or two obvious depressions far away from your house (more than 10 feet), a simple regrading job is often all you need.
What You'll Need:
- Screened topsoil
- A flat shovel
- A tarp
- A hose
The Process:
- Prepare Your Workspace: Lay a tarp down next to the low spot to keep your lawn clean.
- Remove the Sod: Carefully use a flat shovel to cut out the layer of grass (the sod) covering the puddle area. Place these sod sections gently on the tarp.
- Fill the Depression: Pour the screened topsoil into the low spot. You'll want to fill it so it's about 1 inch higher than the surrounding ground level. The soil will settle over time.
- Tamp it Down: Use the back of your shovel to firmly tamp down the new soil. This helps reduce future settling.
- Replace the Sod: Place the sod sections back over the newly filled area, fitting them together like puzzle pieces. Walk over the sod to ensure it makes good contact with the new soil beneath it.
- Water Lightly: Give the repaired area a gentle watering. This will help the sod's roots begin to knit into the new soil.
For many minor puddling issues, this simple fix is all it takes!
Solution B: Improve Your Soil's Permeability
If your puddles are more widespread and the ground feels spongy even when it's not soaked, you might have compacted or clay-heavy soil. The water simply can't soak in. The solution is to aerate the soil and enrich it.
The Process:
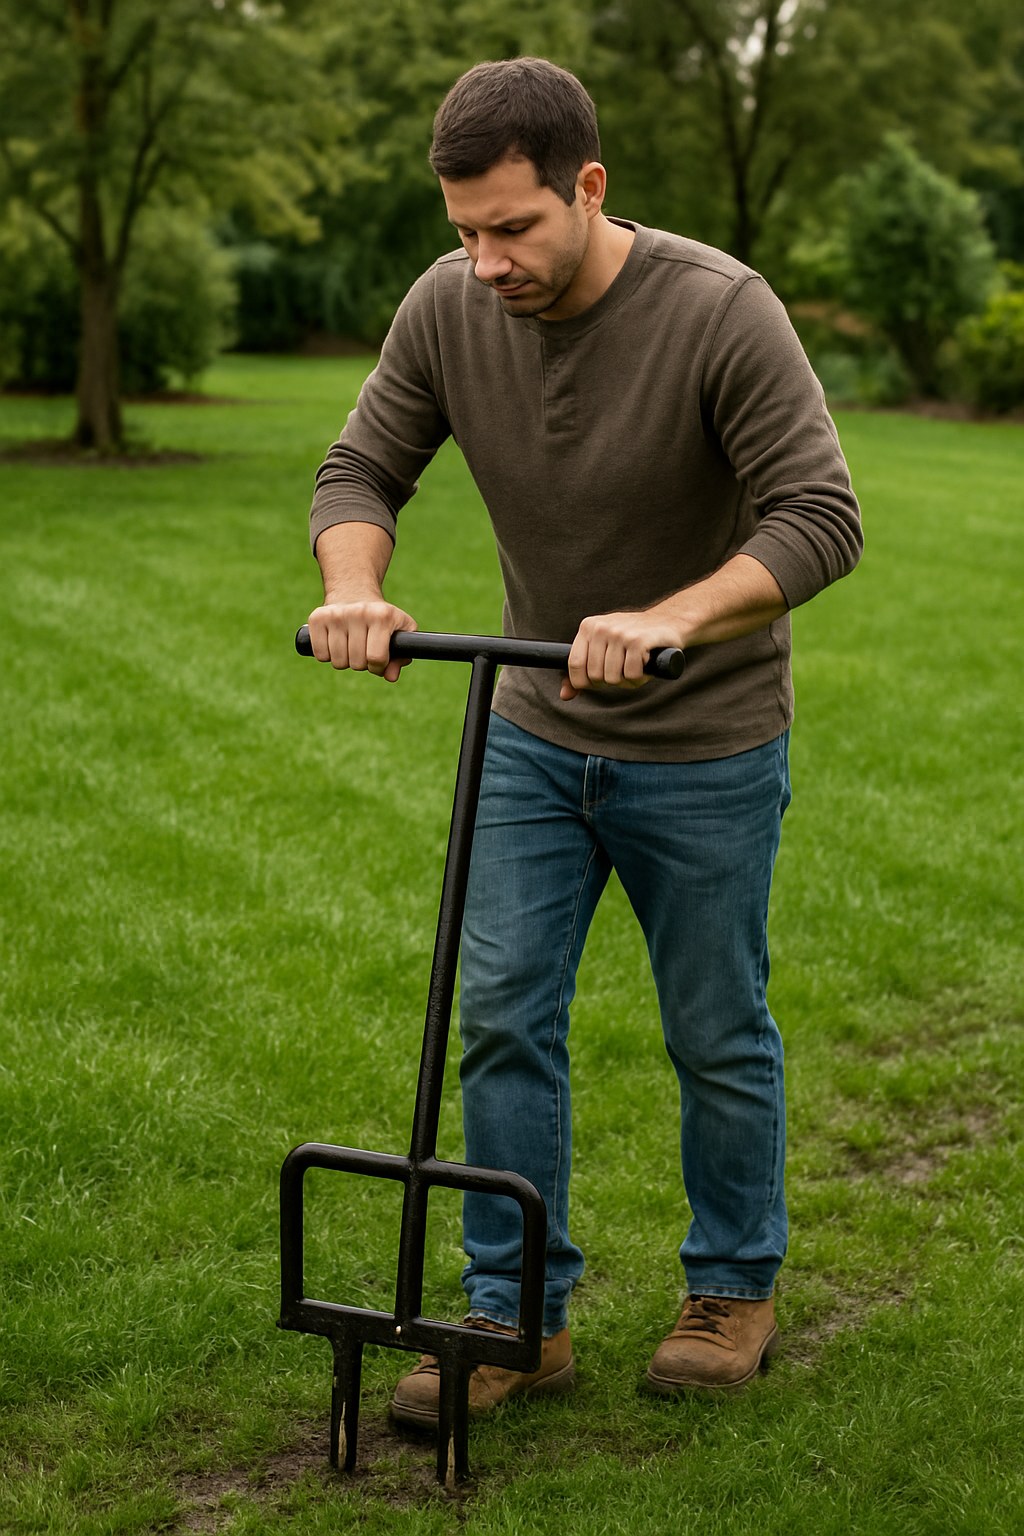
- Aerate the Lawn: Rent a core lawn aerator from a local home improvement store. This machine pulls small plugs of soil out of the ground, creating channels for air, water, and nutrients to penetrate. Run the aerator over the entire soggy area, making passes in two different directions (like a checkerboard pattern) for the best results.
- Add Organic Matter: After aerating, spread a half-inch layer of high-quality compost over the area. Compost is fantastic for improving soil structure.
- Rake it In: Use a rake to gently work the compost across the lawn, encouraging it to fall into the aeration holes.
- Water it In: Give the area a light watering for about 10 minutes to help the compost settle into the soil.
This process won't deliver overnight results, but over time, it will dramatically improve your soil's ability to absorb water.
Step 3: If Your Puddles Persist for More Than 48 Hours
If you're still looking at puddles two days after a storm, you have a more significant drainage problem that needs your immediate attention—especially if the water is near your house.
Priority #1: Check Water Pooling Near Your Foundation
Water that sits within 10 feet of your house foundation is a major red flag. This can lead to cracks, leaks in your basement or crawlspace, and serious structural issues. The most common cause is your roof's drainage system.
- Inspect Your Gutters: Put on some work gloves and safely climb a sturdy ladder. Look inside your gutters. Are they filled with leaves, twigs, and other debris? Clogged gutters will overflow, dumping water right next to your foundation.
- Check Your Downspouts: Walk around your house and inspect each downspout. They should be clear of blockages and have an extension or splash block at the bottom that directs water at least 6 feet away from your foundation, onto ground that slopes away from the house.
If you find clogged gutters or misdirected downspouts, fix them immediately.
- To Clean Gutters: Use a gutter scoop to remove all debris. After cleaning, run water from a hose down the gutter and into the downspout to ensure it’s flowing freely.
- To Extend Downspouts: You can buy simple, inexpensive downspout extensions at any hardware store. Attach them to ensure water is discharged a safe distance from your home.
Priority #2: Inspect and Clear Yard Drains
If the persistent puddles are further out in your yard, you may have a clogged underground drainage system, like a French drain or catch basin.
- Locate the Drains: Find the drain grates or clean-out access points in the soggy areas of your yard.
- Clear the Grate/Basin: Pry off the grate with a screwdriver. Wearing gloves, remove any visible leaves, mud, and debris from the basin.
- Flush the System: Use a hose to shoot a powerful stream of water into the drain to try and flush out any blockages.
- Use a Drain Auger: For tougher clogs, you may need a drain auger (also called a drain snake). Feed the auger into the pipe until you hit the clog, then crank it to break up the obstruction. Flush again with the hose.
Clearing these drains can often restore proper water flow and solve your puddle problem.
How Much Does It Cost to Fix Yard Drainage?
The cost can vary dramatically depending on the solution.
- DIY Fixes: Simple solutions are very affordable. A few bags of topsoil might cost you $20-$30. Renting a core aerator for a day typically costs $50-$100. Gutter cleaning tools and downspout extensions are also inexpensive.
- Professional Help: If your problem is severe, you may need professional intervention. According to HomeAdvisor, installing a French drain can cost $25 to $35 per linear foot, and regrading a significant portion of your yard can range from $1,000 to over $5,000.
When to Call a Landscape Drainage Professional
Sometimes, a problem is too big for a DIY fix. It's time to call a professional if:
- Water continues to pool near your foundation even after you've cleaned your gutters and extended your downspouts.
- You've cleared your yard drains, but the area still remains soggy for days after rain.
- You suspect your entire yard has a significant grading issue that directs water toward your home.
- You simply can't identify the source of the problem.
A drainage expert can assess your property and recommend a permanent solution, such as installing a French drain, a dry well, or professionally regrading your property.
Don't Let Puddles Rule Your Yard
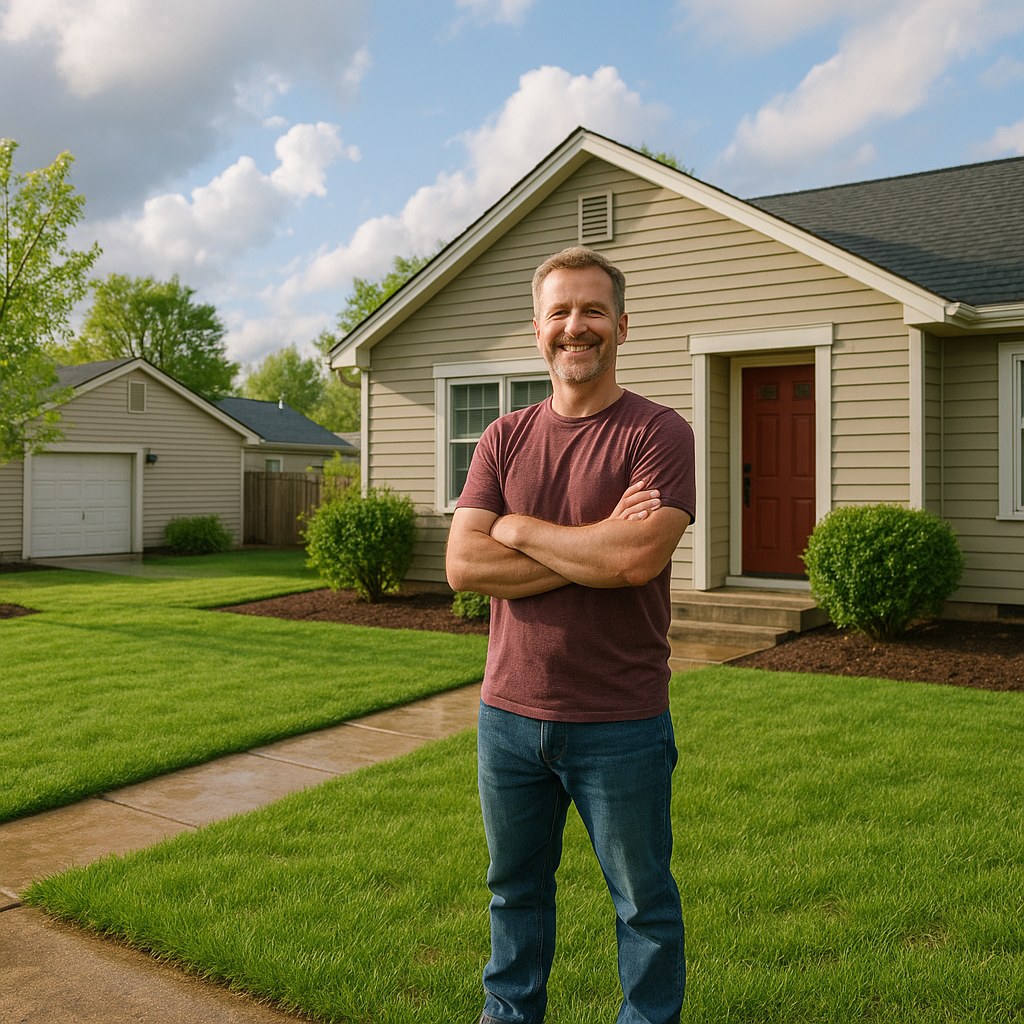
A soggy, waterlogged yard can put a damper on your outdoor enjoyment and pose a real threat to your home. By following these diagnostic steps, you can get to the root of the problem and, in many cases, fix it yourself with a weekend's worth of work.
For more expert advice and step-by-step guides to tackle any project around your home, download the Casa app today! Casa empowers you with the knowledge to manage your home maintenance confidently, and when a job is too big, we can help you connect with trusted, vetted professionals in your area. Take the first step toward a drier, healthier yard.


