That feeling in the pit of your stomach when you spot a few shingles missing from your roof is all too familiar for many homeowners. Whether it's after a heavy storm or just from years of wear and tear, a gap in your roof's armor can seem like a major problem waiting to happen. And you’re right to be concerned—those missing shingles are your home's first line of defense against water damage, leaks, and rot.
The good news? If the damage is minor, you likely don't need to call in a professional roofer just yet. Replacing a few missing shingles is a very manageable DIY project for a prepared homeowner. It can save you hundreds of dollars and, more importantly, protect your home from much bigger, more expensive problems down the road.
In this guide, we'll walk you through everything you need to know, just like a friendly expert on the other end of the line. We’ll cover how to assess the damage from the ground, what safety precautions to take, and provide step-by-step instructions for replacing common types of shingles.
Step 1: The Initial Roof Assessment (From the Safety of the Ground)
Before you even think about grabbing a ladder, the most important first step is to assess the situation. Working on a roof can be dangerous, so let's make sure this is a job you can and should tackle yourself.
First, find your household files and pull out any paperwork related to your roof.
- Check Your Roof Warranty: Many roofing warranties have specific clauses about who can perform repairs. Doing the work yourself could potentially void your coverage, so it's crucial to read the fine print first.
- Review Homeowner Association (HOA) Rules: If you live in a community with an HOA, they might have rules requiring licensed professionals for any exterior repairs. A quick check of your bylaws can save you a future headache.
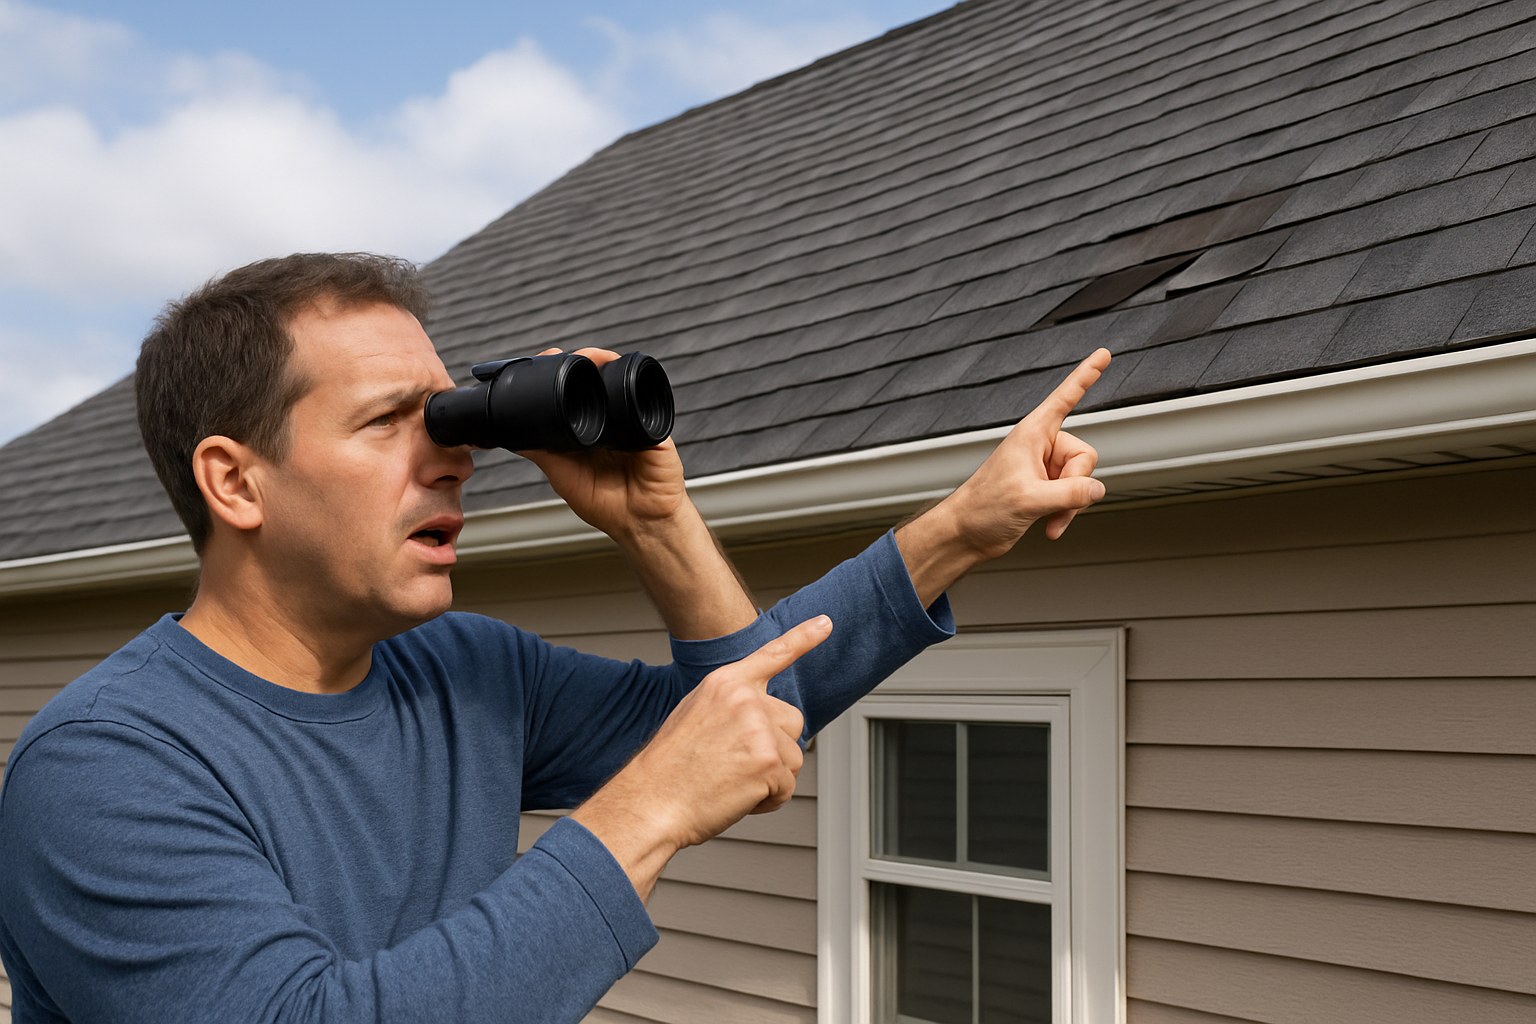
If your warranty and HOA allow for DIY repairs, grab a pair of binoculars and head outside to inspect the roof from the ground.
- Count the Missing Shingles: How extensive is the damage? If you're only missing one, two, or maybe three shingles in a single area, it's likely a good candidate for a DIY fix.
- Assess the Location and Slope: Where is the damaged area? Is it on a low-slope section of the roof that you can easily and safely reach? If the shingles are on a steep pitch (generally anything more than a 6/12 slope, which rises 6 inches for every 12 inches of horizontal run) or near a complex area like a chimney or valley, the risk factor increases significantly.
When to DIY vs. When to Call a Pro
This is the most critical decision you'll make. Be honest with yourself about the scope of the project and your comfort level.
You can likely DIY this repair if:
- You are missing three or fewer shingles in one spot.
- The damaged area is on a low-slope roof.
- You can safely access the spot with a ladder on firm, level ground.
- Your warranty or HOA does not require a professional.
You should call a licensed roofing contractor if:
- Your roof is under a warranty that would be voided by self-repair.
- You are missing numerous shingles across multiple sections of the roof.
- The damage is on a very steep roof.
- You see signs of deeper damage, like sagging or soft spots (which we’ll check for later).
- You have any doubts about your ability to perform the repair safely.
According to home service experts at Angi, a professional shingle repair can cost anywhere from $250 to over $1,000, depending on the extent of the damage and your location. A DIY repair, on the other hand, can cost less than $50 for a bundle of shingles and some supplies. The savings are significant, but they are never worth compromising your safety.
Step 2: Gearing Up for a Safe Repair
If you've decided to proceed, safety is your top priority. Never work on a wet, icy, or excessively windy day. Here’s the essential gear you’ll need:
Safety First:
- Roof Safety Harness: This is non-negotiable. A harness properly clipped to a secure roof anchor can prevent a life-threatening fall.
- Sturdy Ladder: Ensure your ladder is on solid, level ground and, if possible, tied off to the roof edge to prevent it from slipping.
- Non-Slip Footwear: Wear sturdy, soft-soled boots that provide excellent grip.
Tools & Materials (will vary by shingle type):
- Replacement shingles that match your existing ones
- Pry bar or flat bar
- Hammer
- Roofing nails (galvanized, 1 ¼-inch)
- Utility knife
- Roofing cement/sealant
- Tape measure
Step 3: How to Replace Missing Shingles - A Guide by Material
Once you're safely on the roof and secured with your harness, identify the material of your shingles. The replacement process varies slightly for each type. We’ll cover the most common ones here.
For Asphalt Shingles (Most Common)
Asphalt shingles are flexible and have a granular surface. This is the most straightforward type of shingle to replace.
- Break the Seal: Carefully slide your pry bar under the shingle directly above the missing one. Gently lift to break the sealant strip connecting it to the damaged layer. You only need to lift it enough to see the nails.
- Remove Old Nails: Use the pry bar to pull out the nails that held the old, damaged shingle in place. There are typically four nails per shingle.
- Inspect the Underlayment: With the old shingle remnants gone, check the surface below. You should see a layer of roofing felt (the underlayment) over the solid wood roof decking. If the underlayment is torn or the wood decking feels soft or spongy, stop immediately. This is a sign of water damage that requires a professional.
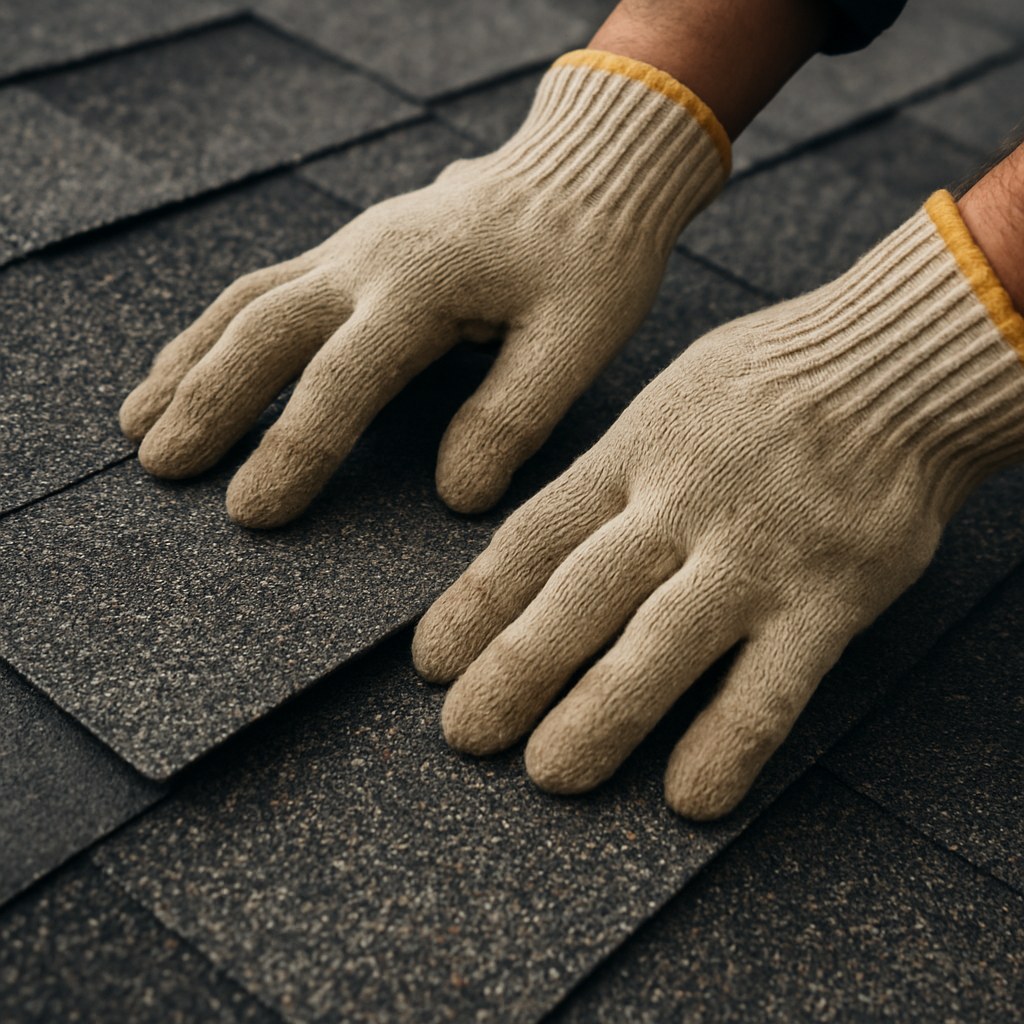
- Install the New Shingle: Slide the new asphalt shingle into the empty slot. Make sure its top edge is aligned with the shingles next to it.
- Nail It Down: Hammer four roofing nails into the new shingle along its top sealant line. Don't drive them in too far (which can crack the shingle) or leave them sticking up. The nail head should be flush with the shingle surface.
- Seal It Up: Press the overlapping shingle back down. For extra protection, you can apply a small dab of roofing cement under the tabs of the new shingle and the one above it to ensure a watertight seal.
For Wood Shingles
Wood shingles require a bit more finesse as they can split easily.
- Remove the Old Shingle: Since wood shingles are often nailed in a way that makes them hard to pry out, the easiest method is to split the damaged shingle with a hammer and chisel and remove the pieces.
- Cut the Old Nails: You won't be able to pull the old nails out without damaging the shingle above. Instead, use a hacksaw blade or a specialty tool like a slate ripper to slide under the shingle above and cut the old nails flush.
- Inspect the Underlayment: Just as with asphalt, check for any damage to the underlayment or roof decking. Call a pro if you find any soft spots.
- Prepare the New Shingle: Measure the gap and trim a new wood shingle so it fits, leaving about a ⅛-inch gap on each side for expansion.
- Secure the New Shingle: Slide the new shingle into place. Drive two new roofing nails into the shingle about ¾ inch below the bottom edge (the butt) of the shingle above it. This hides the nails while securing the new shingle. Tap the new shingle up slightly to ensure it's snug against the nails.
For Slate or Metal Shingles
Slate and metal roofs are highly durable but are much more complex and unforgiving to repair. Slate is brittle and can crack easily, while metal shingles often interlock in specific patterns.
- Replacing Slate: This involves using a special tool called a slate ripper to cut the old nails and then securing the new slate with copper hooks. It's a delicate process that can easily cause more damage if done incorrectly.
- Replacing Metal: This usually requires removing screws on the overlapping panel, sliding a new panel in, and ensuring the interlocking edges are perfectly aligned before screwing it back down.
Our Friendly Advice: If you have missing slate or metal shingles, we strongly recommend calling a professional. The risk of causing more expensive damage is high, and these materials require specialized tools and expertise.
Bringing It All Together
Once your new shingle is secure, tug on it lightly to ensure it’s not loose. Then, carefully make your way down the ladder and inspect your work from the ground. The new shingle should look flush and perfectly aligned with the surrounding roofline.
A small roof repair is an empowering project that can save you money and give you peace of mind. By putting safety first and knowing your limits, you can successfully defend your home against the elements.
And for every other home maintenance challenge, Casa is here to help. Download the Casa app today to get access to more easy-to-follow DIY guides, create a personalized maintenance schedule for your home, and connect with trusted, vetted professionals for the jobs you can't handle alone. Take the stress out of homeownership with Casa in your corner.