There are few things more frustrating for a homeowner than watching your carefully tended garden turn into a muddy swamp every time it rains. You’ve invested time, effort, and money into creating a beautiful outdoor space, only to see it plagued by persistent puddles. Standing water isn't just an eyesore; it's a serious problem that can lead to root rot in your beloved plants, create a breeding ground for mosquitoes, and even contribute to foundation issues over time.
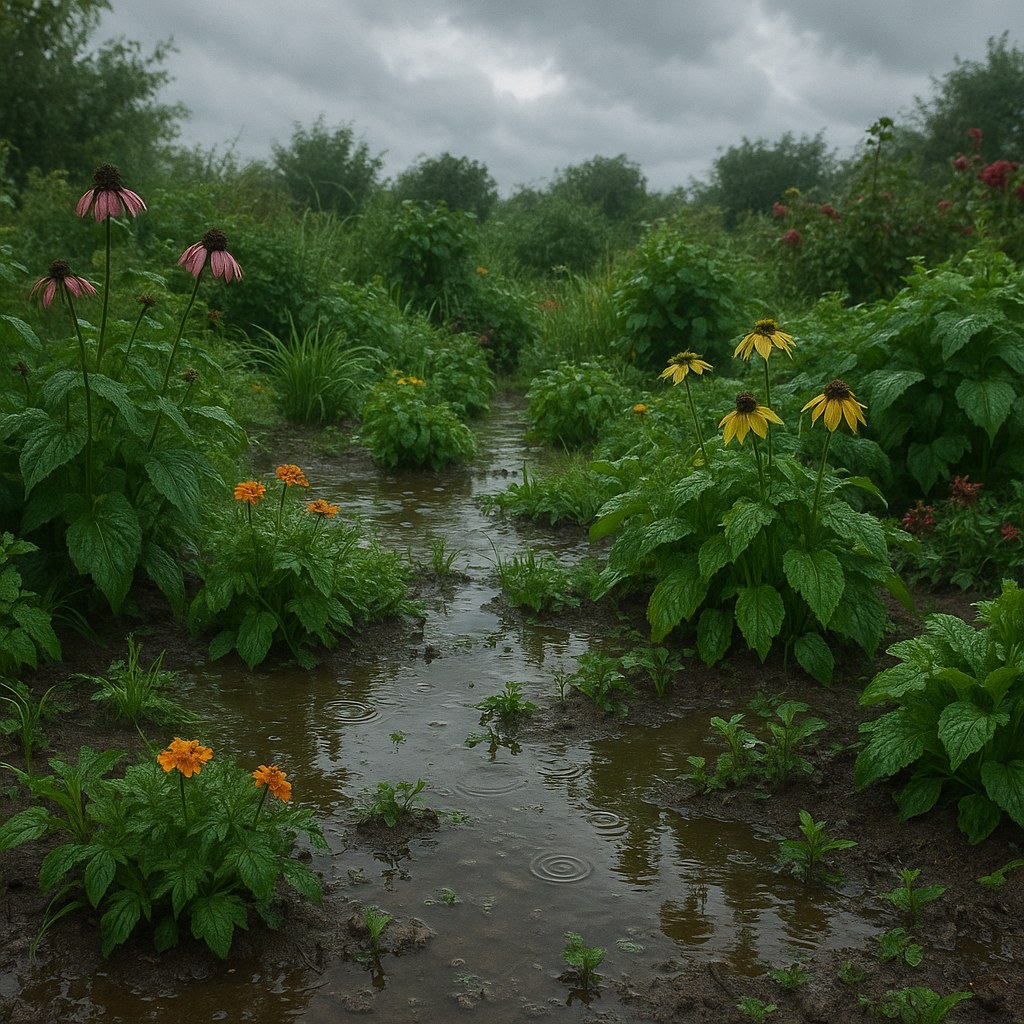
The sight of a waterlogged yard can be disheartening, making you feel like you need to call in an expensive professional. But the good news is that many common drainage issues have simple, DIY-friendly solutions. Often, the culprit is something as straightforward as a pile of leaves blocking a drain or soil that has become too compacted over the years.
In this guide, we'll walk you through the process of diagnosing your garden's drainage problem, just like an expert would. We’ll start with the easiest fixes and work our way up to more involved solutions. Let’s get your garden back to thriving, not swimming!
Why Is My Garden Pooling Water?
Before we grab our shovels, it helps to understand what’s causing the unwanted water feature in your yard. Poor drainage is almost always due to one of these four reasons:
- Surface Obstructions: The simplest cause. Leaves, mulch, grass clippings, or other debris can physically block the path water needs to take to drain away.
- Clogged Drainage Systems: If your yard has a built-in drainage system like a French drain or a catch basin, it can get clogged with silt, roots, and debris over time, rendering it useless.
- Compacted Soil: Heavy foot traffic, construction equipment, or even years of rainfall can compact soil, squeezing out the air pockets that allow water to soak in. Clay-heavy soils are particularly prone to this issue.
- Improper Grading: Your yard should have a gentle slope that directs water away from your home and garden beds. If the land is perfectly flat or, worse, slopes inward, water will collect in the lowest spot.
Now that we know what we’re looking for, let’s get our hands dirty and figure out what’s going on in your garden.
Step 1: Your Initial Assessment
First things first, let's play detective. You need to get a good look at the situation to gather clues. Before you head out, grab some work gloves and a pair of waterproof boots—things are about to get a little muddy.
Walk around the area where water is pooling. Take note of a few things:
- Are there obvious low spots where the ground dips?
- Can you see any drain openings, and if so, are they covered?
- Look for nearby sources of water. Is a downspout from your roof pointing directly into the garden bed? Does water run off from a nearby patio or driveway and collect in this spot?
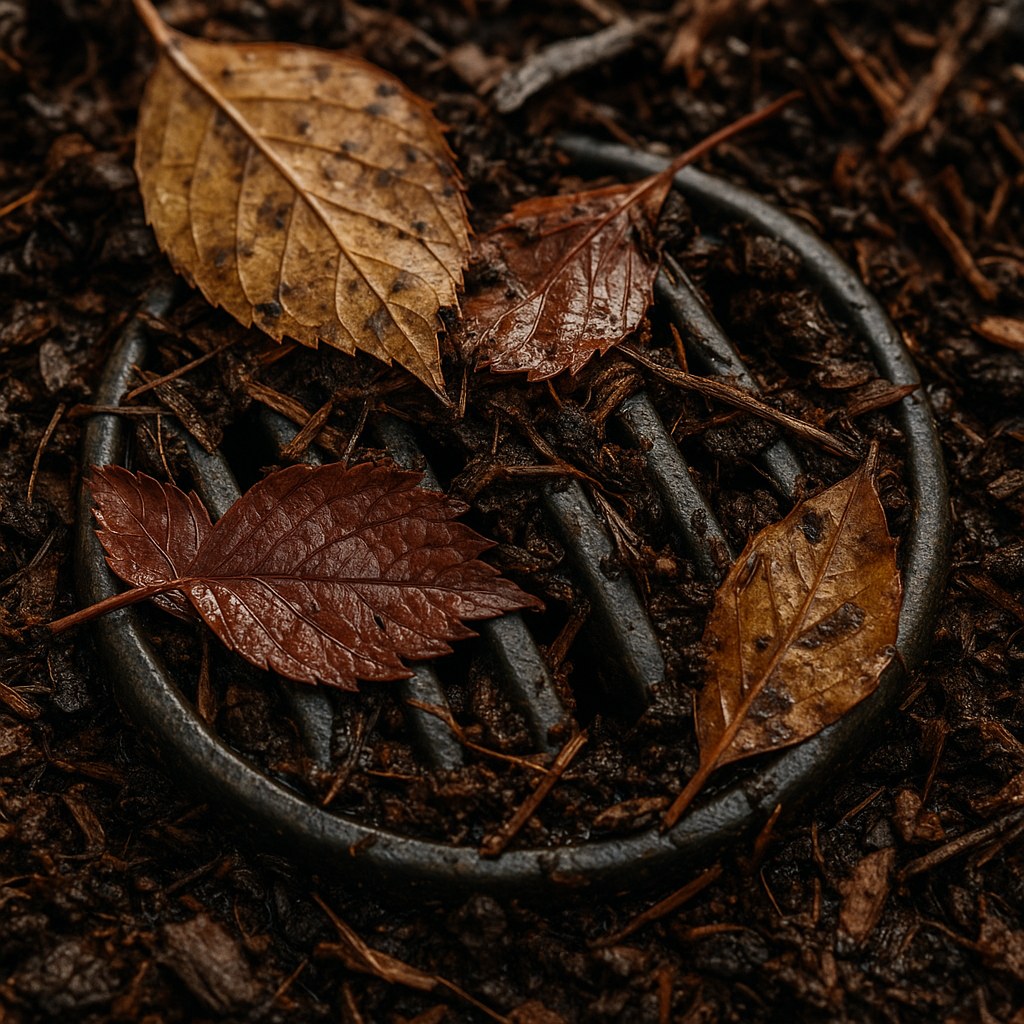
This initial look-around will often point you directly to the problem. If you can see a thick blanket of leaves and mulch covering the ground where water is pooling, you’re likely in luck.
Step 2: The Easiest Fix – Clear Visible Obstructions
If your initial assessment revealed a build-up of debris, this is your starting point. It’s the most common cause of sudden drainage problems and, thankfully, the easiest to fix.
What you’ll need: Rake, work gloves, hand pruners, garden hose
- Clear the Area: Use a rake to pull back all the leaves, excess mulch, and any other debris from the pooling area. Pay special attention to any visible drain grates. Make sure they are completely clear.
- Clean the Grates: If you have drain grates, carefully lift them off. You’ll likely find a collection of gunk and sediment underneath. Use your gloved hands to scoop it all out.
- Check for Roots: Sometimes, aggressive plant roots can grow into drainage paths and block the flow of water. If you see any intrusive roots, use a pair of hand pruners to snip them back.
- Test Your Work: Once everything is clear, use a garden hose to spray the area for a minute. Watch where the water goes. Does it now flow freely away from the spot or into the drain?
To be certain the problem is solved, you’ll need to wait for the next rainfall. Check the area 24 hours after it rains. If the standing water is gone, congratulations! You’ve fixed the issue with a little bit of yard cleanup.
Step 3: Unclog Your Existing Drainage System
If clearing the surface didn’t solve the problem and you know you have a drainage system (like a French drain or catch basin), the clog is likely deeper inside the pipes. This takes a bit more effort but is still a very manageable DIY task.
What you’ll need: Flathead screwdriver, steel trowel, drain auger (or snake), garden hose
- Access the System: Use a flathead screwdriver to pry open the catch basin grate or find the access point for your French drain.
- Scoop Out Debris: The basin at the entry point is designed to catch larger debris. Use a steel trowel or a small garden spade to scoop out all the accumulated silt, leaves, pebbles, and gunk until it’s clear.
- Snake the Drain: For clogs that are deeper in the pipe, a drain auger is your best friend. Feed the auger about 10 feet (3 meters) into the pipe, turning the handle as you go. This will break up any hidden clogs from compacted sediment or roots.
- Flush it Out: After augering, use your garden hose with a jet-stream nozzle to flush the pipe with high-pressure water. Let it run for a few minutes until the water coming out the other end runs clear.
- Reassemble and Observe: Securely replace the grate. Once again, wait for the next rain and check the area after 24 hours. If it's dry, your drainage system is back in business.
Step 4: Digging Deeper – Evaluating and Fixing Soil and Grade Issues
If you’ve cleared all obstructions and your drains are clean (or you don’t have any), the problem lies with the ground itself. This is where we need to address compacted soil or an improper slope.
First, Test Your Soil’s Drainage
How do you know if your soil is the culprit? With a simple soil infiltration test.
What you’ll need: Shovel
- Dig a test hole in the center of the pooling area. It should be about one foot wide and one foot deep (30cm x 30cm).
- Fill the hole completely with water and start a timer.
- Check back in 4 hours. If the water level has dropped by at least half, your soil drainage is likely okay. If the hole is still mostly full, you’ve confirmed the problem: the soil is too compacted or has too much clay to absorb water effectively.
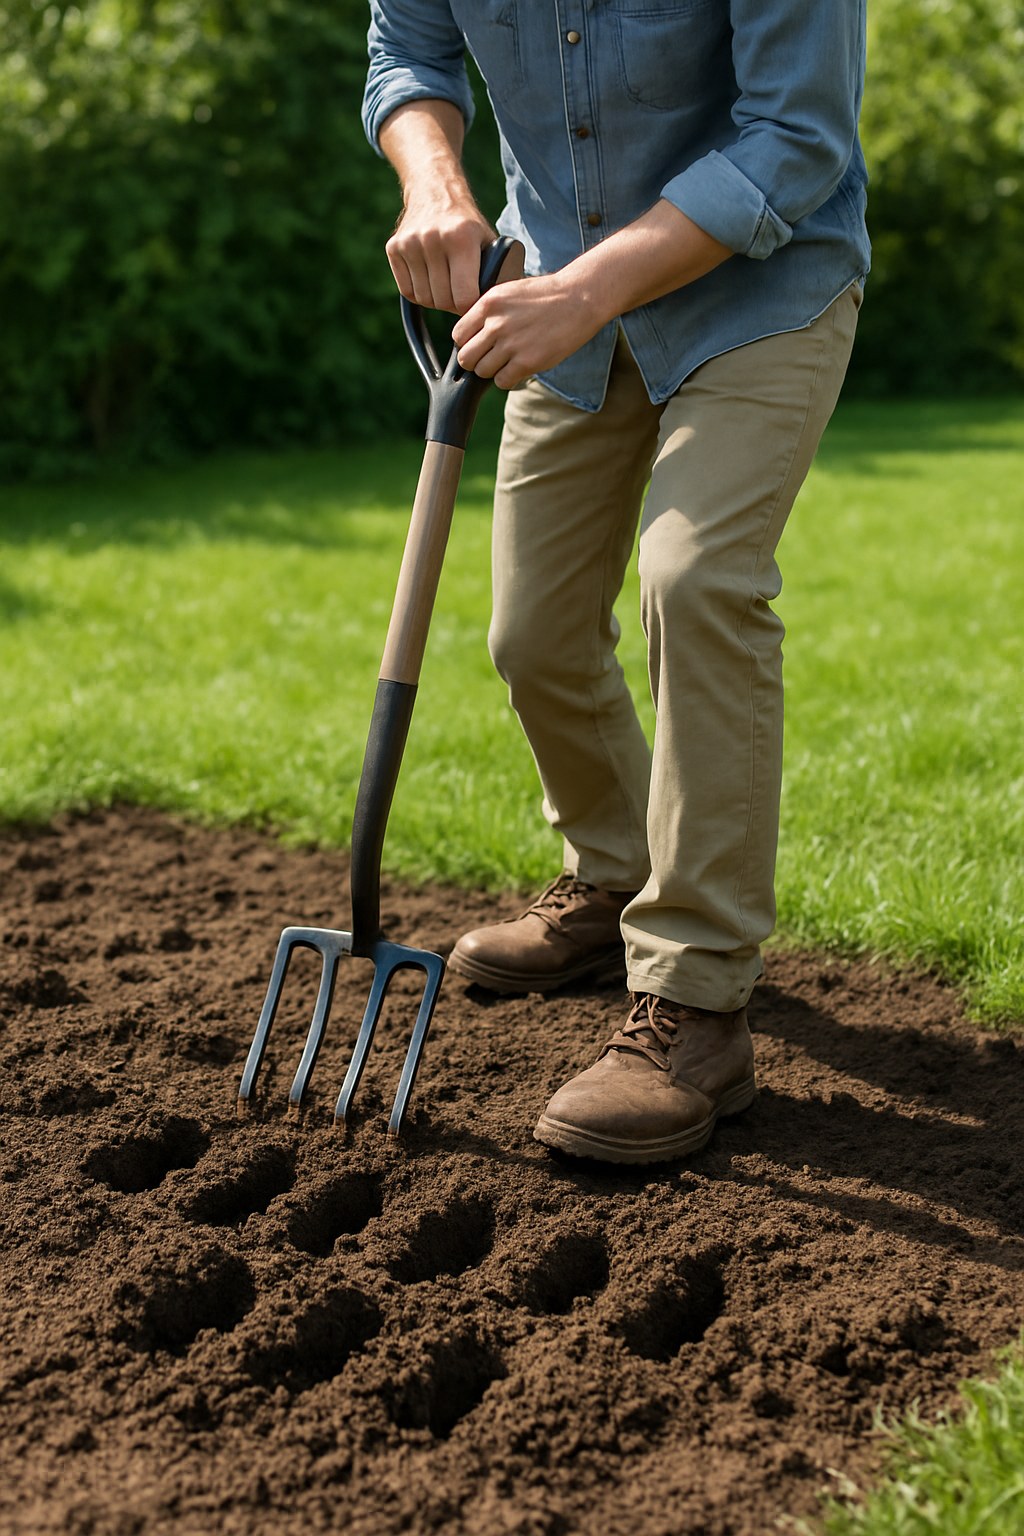
How to Fix Compacted Soil
If your soil failed the test, it’s time to loosen things up and add some organic matter to improve its structure.
What you’ll need: Garden fork, compost
- Aerate the Soil: Take a garden fork and push it about 6 inches (15cm) deep into the soil across the entire pooling area. Rock the fork back and forth gently to create fissures that allow air and water to penetrate. Repeat this every 6 inches.
- Amend with Compost: Spread a 2-inch (5cm) layer of quality compost over the aerated area. Compost is a superhero for soil; it breaks up heavy clay, helps sandy soil retain water, and adds vital nutrients.
- Mix it In: Use the garden fork to mix the compost into the top 4-5 inches of your existing soil.
This process, known as soil amendment, can dramatically improve your garden's ability to absorb rainwater.
How to Check and Correct Your Garden's Grade
If your soil is healthy but water still pools, the final culprit is the grade, or slope, of the land.
What you’ll need: A long, straight board (e.g., a 2x4), a 4-foot level, shovel, topsoil, mulch
- Check the Slope: Lay the straight board on the ground across the pooling spot, pointing it in the direction you want the water to flow. Place your level on top of the board.
- Aim for a 2% Grade: For proper drainage, you want a gentle slope of about 2%. This equals a drop of about 1 inch for every 4 feet of distance (or 2cm per meter). If the bubble in your level is centered, the ground is too flat. If it slopes toward the puddle, you’ve found a major problem.
- Adjust the Grade: To fix this, you’ll need to add or remove soil. If the area needs to be built up, add high-quality topsoil and use the back of a shovel to tamp it down gently. Use the board and level to check your work until you achieve that gentle 2% slope away from the problem area.
- Finish and Protect: Once the grade is corrected, cover the new soil with a 2-inch layer of mulch to prevent erosion.
When Is It Time to Call a Professional?
You’ve cleared debris, snaked your drains, aerated your soil, and checked your grade, but the puddle persists. At this point, the issue may be beyond a simple DIY fix. It might be time to call a landscape professional or drainage contractor if:
- Water is still pooling after trying all the steps above.
- You suspect a crushed or broken underground drainpipe.
- Your entire yard has a negative grade sloping toward your house.
- The problem is too large-scale to tackle with a shovel and a wheelbarrow.
A professional can assess the situation and recommend more permanent solutions, such as installing a French drain, a dry well, or completely re-grading the yard. While these solutions are more expensive—installing a French drain can cost several thousand dollars—they are a worthwhile investment to protect your property and create a healthy, usable outdoor space.
Your Garden’s Health is Worth It
Fixing a waterlogged garden is one of the most impactful projects you can undertake for your home. By following these steps, you can solve the majority of drainage issues yourself, saving money and gaining a valuable understanding of how your property works.
For more expert home maintenance guides, personalized reminders, and a direct line to trusted professionals for those jobs that are just too big, download the Casa app today. We’re here to help you manage your home with confidence, from the garden to the rooftop.


