You’re all set to tackle the dust bunnies, you plug in your vacuum, flip the switch, and… nothing. A silent, unresponsive vacuum is one of the most common and frustrating household hiccups. But before you start looking up prices for a brand new machine, take a deep breath. The good news is that the culprit is often a simple, easy-to-fix issue that you can handle yourself in under 30 minutes.
Whether you have a trusty corded upright or a sleek cordless stick vacuum, the troubleshooting steps are straightforward. Most of the time, the problem boils down to one of three things: a power supply issue, a blockage, or a battery problem.
In this guide, I’ll walk you through the process of diagnosing why your vacuum won’t turn on, just like I would over the phone. We'll cover both corded and cordless models to get you back to cleaning in no time.
Step 1: Is Your Vacuum Corded or Cordless?
This might seem obvious, but it’s the most important first step, as it determines our entire troubleshooting path.
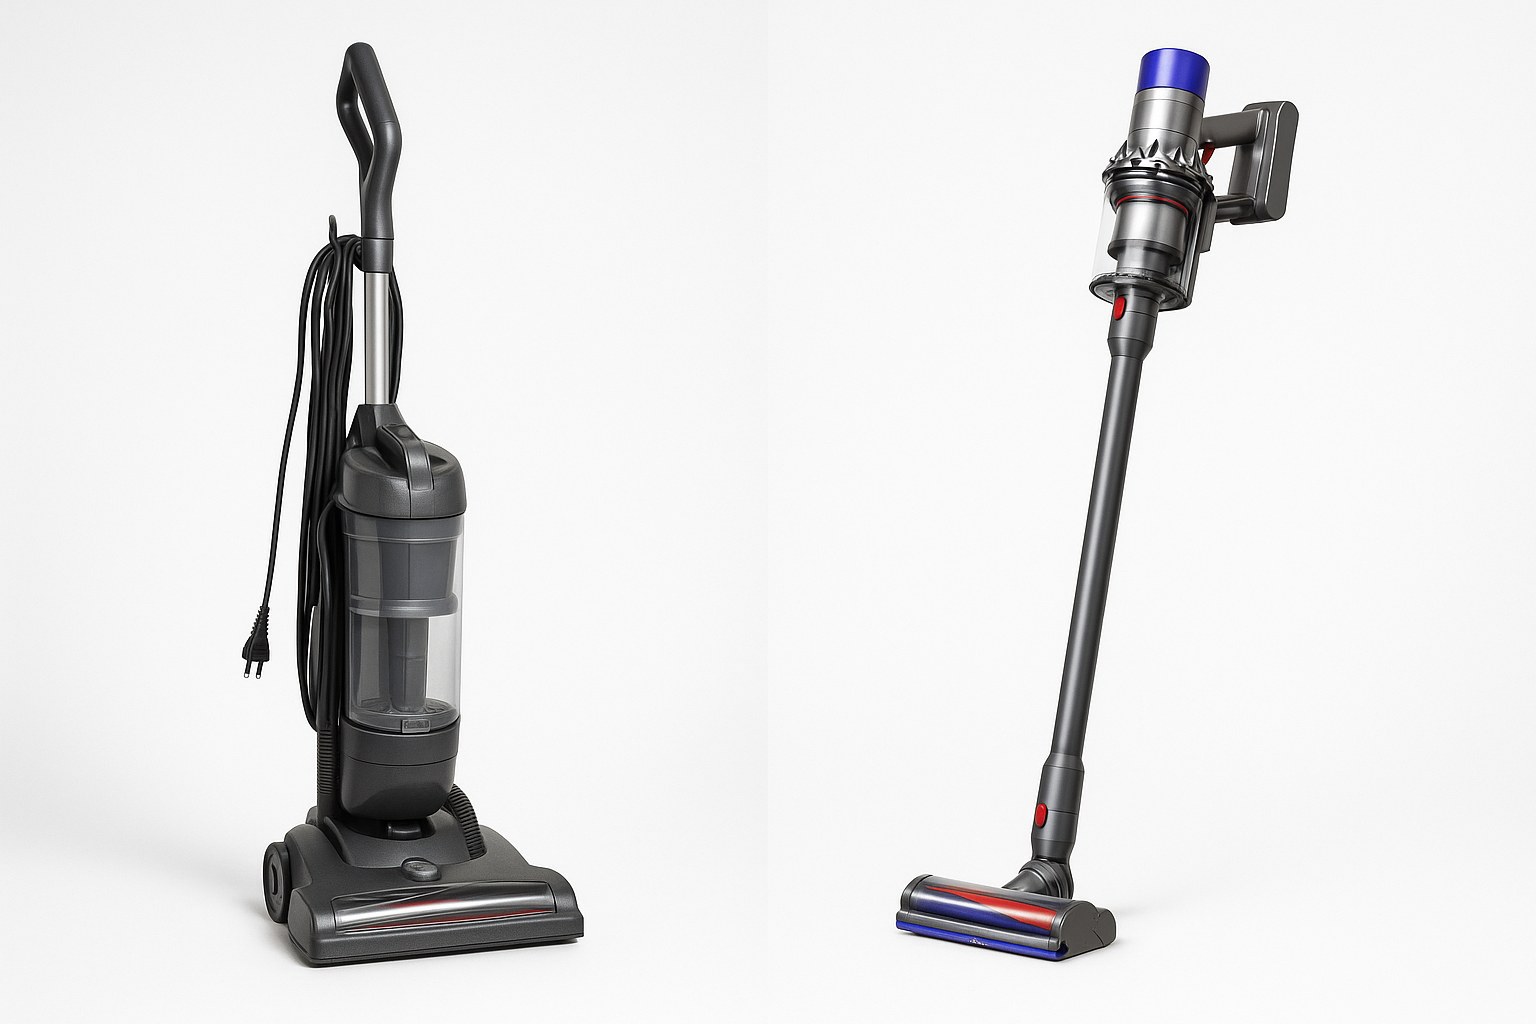
- Corded vacuums get their power directly from a wall outlet.
- Cordless vacuums rely on a rechargeable battery pack.
Take a quick look at your machine. If you see a long power cord attached to the base, you’ve got a corded model. If you see a removable battery pack and no cord, it’s cordless. Once you know which type you have, follow the appropriate section below.
How to Fix a Corded Vacuum That Won't Turn On
If your corded vacuum is giving you the silent treatment, the problem is almost always related to the power flow. Let’s trace the power from the wall to the vacuum’s motor.
Check the Power Supply
First, let's make sure electricity is actually getting to your vacuum.
- Test the Outlet: Unplug the vacuum from the wall outlet. To confirm the outlet is working, plug something else into it that you know works, like a phone charger or a lamp. If it powers up, the outlet is fine.
- Check the Circuit Breaker: If the outlet is dead, head to your home's electrical panel (or fuse box). Look for a flipped breaker and switch it back to the "ON" position. If it flips again immediately, you may have a larger electrical issue that requires an electrician. If not, try the vacuum in the outlet again.
- Inspect the Power Cord and Plug: Carefully run your hands along the entire length of the vacuum’s power cord, looking and feeling for any cuts, frays, or burn marks. Examine the plug for bent or broken prongs. If you find any damage, do not use the vacuum. The cord will need to be professionally replaced.
- Get a Secure Connection: Sometimes the fix is as simple as the plug not being pushed in all the way. Re-insert the plug firmly into a working wall outlet.
If your vacuum now turns on, congratulations! You've solved the mystery. If it’s still not working, let's move on to the vacuum's internal safety features.
Look for a Reset Button or Fuse
Many vacuums have built-in protection to prevent the motor from overheating or drawing too much power.
- Unplug the Vacuum: Always disconnect the appliance from the wall before doing any inspection.
- Locate the Reset: Look for a small reset button, often red or black, on the vacuum's body or motor housing. Some models might have a small internal fuse or a mini circuit breaker switch instead.
- Reset the System: Press the reset button firmly. If you have a fuse, you may need to unscrew a cover to access it. If the tiny filament inside the glass tube is broken, it needs to be replaced with an identical one (usually a 5-amp glass fuse, which you can find at hardware stores).
- Try Again: Plug the vacuum back in and try turning it on.
If it works, the motor likely overheated from a blockage. If not, a blockage is our next suspect.
Clear All Blockages
A clog is the most common reason a vacuum overheats and shuts down using its thermal cutoff feature. This safety mechanism prevents the motor from burning out, but it also means the vacuum won't turn on until it cools down and the clog is removed.
- Unplug and Wait: Make sure the vacuum is unplugged. Let it sit for at least 15-30 minutes to cool down completely.
- Empty the Canister or Bag: Remove the dust canister or vacuum bag and empty all the contents into the trash. An overfull bag or bin severely restricts airflow.
- Clean the Filters: Locate the pre-motor filter and exhaust filter. These are often washable or can be tapped gently over a trash can to remove caked-on dust. A dirty filter is like trying to breathe through a pillow—it suffocates the motor.
- Check the Brush Roll: Flip the vacuum over. The brush roll (or beater bar) often gets tangled with hair, string, and carpet fibers. Use a pair of scissors to carefully cut away any debris. This will allow it to spin freely and prevent motor strain.
- Inspect the Hose: Detach the main hose from the vacuum body. Look through it to spot any clogs. If you can't see through it, carefully use a straightened coat hanger or a broom handle to push the obstruction out.
After reassembling everything, plug the vacuum in and give it another try. In most cases, clearing a blockage will bring it back to life. If not, the internal wiring or power switch may be faulty, and it's time to consult a professional.
How to Fix a Cordless Vacuum That Won't Turn On
Cordless vacuums offer incredible convenience, but their batteries are the most common point of failure. If your cordless model won’t start, let's focus on the battery and potential blockages.
Check the Battery and Charger
A dead or improperly seated battery is the number one reason a cordless vacuum fails to start.
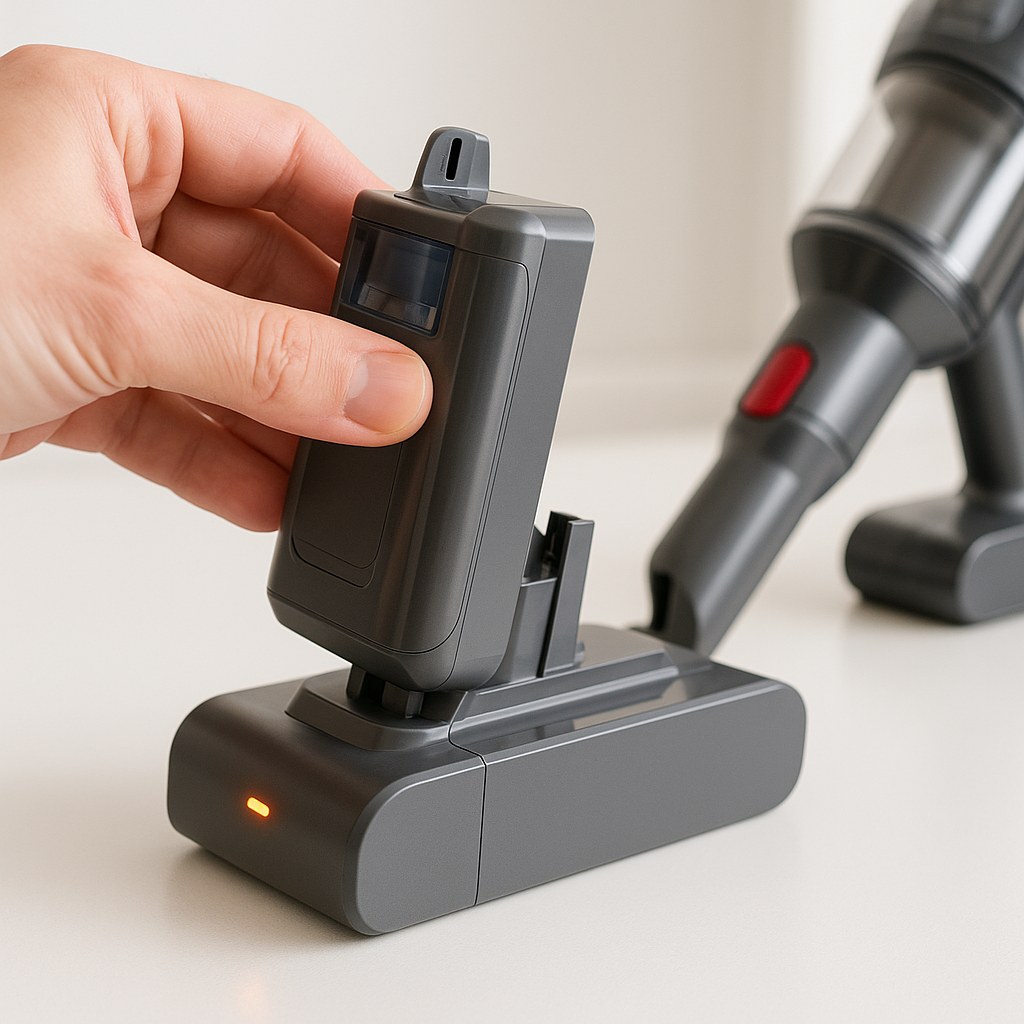
- Reseat the Battery: First, remove the battery pack from the vacuum. Then, firmly click it back into place. Sometimes, a loose connection is all that's wrong.
- Charge It Fully: Place the battery pack on its charging dock. Make sure the dock is plugged in and that the charging light on the battery or dock illuminates. Leave it to charge for at least 3-4 hours, or until the indicator light shows a full charge.
- Test It: Once fully charged, reinsert the battery pack into the vacuum and try turning it on.
If it springs to life, you're all set! If it’s still dead after a full charge, the battery itself may have reached the end of its life.
Inspect and Potentially Replace the Battery
Like all rechargeable batteries, vacuum batteries degrade over time. According to manufacturers and repair experts, the average lifespan of a cordless vacuum battery is about two to three years.
- Visually Inspect the Battery: Remove the battery pack and look for any signs of damage. Is it swollen, cracked, or leaking? Is there corrosion on the metal contacts? If you see any of these signs, the battery is dead and unsafe to use.
- Consider its Age: If the battery is over three years old and no longer holds a charge, it's likely time for a replacement.
- Get the Right Replacement: Purchase a new vacuum battery pack directly from the manufacturer or a reputable third-party seller. Ensure the model number matches your vacuum perfectly to avoid compatibility issues.
- Install the New Battery: Slide the new, fully charged battery pack into the vacuum until it clicks securely.
Try turning it on now. A new battery often makes a cordless vacuum feel brand new again.
Reset and Clear Blockages
Just like their corded cousins, cordless vacuums have thermal safety cutoffs to protect the motor from overheating due to clogs.
- Remove the Battery: For safety, always take the battery pack out before checking for blockages.
- Empty and Clean: Empty the dust canister and clean the pre-motor and exhaust filters.
- Check the Brush Roll and Hose: Inspect the brush roll for tangled hair and the hose or wand for any obstructions. Clear them out completely.
- Rest and Reassemble: Reinsert the battery pack and let the unit sit for about 15 minutes to allow the thermal cutoff to reset.
After following these steps, try the power button one more time.
When It’s Time to Call a Professional
If you've tried everything on this list and your vacuum still won't turn on, the issue is likely more complex. It could be a faulty power switch, a damaged internal wire, or a dead motor. According to HomeAdvisor, the average cost to have a small appliance like a vacuum repaired by a technician can range from $50 to $150. While this can be a worthwhile investment for a high-end model, you may find that replacing a budget-friendly vacuum is more cost-effective.
Final Thoughts
That dead vacuum in your closet doesn’t have to be a lost cause. By methodically checking the power source, battery, and potential blockages, you can solve the vast majority of issues yourself and save a significant amount of money.
For more easy-to-follow DIY guides and direct access to trusted home maintenance professionals for the jobs you can't handle alone, download the Casa app today. We're here to help you keep your home running smoothly, one fix at a time.