That wobbly drawer handle. We’ve all been there. Every time you pull it, you get that unsatisfying jiggle, a little reminder of a task waiting on your to-do list. Or maybe it’s gone past wobbly and is now completely broken, making it a pain to even open the drawer. It’s a small problem, but these little things can make your beautiful furniture feel frustrating to use.
The great news is that fixing a loose or broken drawer handle is one of the quickest, easiest, and most satisfying DIY home repairs you can do. You don't need a workshop full of tools or years of experience. In most cases, all you need is a screwdriver and about five minutes.
Whether you're dealing with a loose handle on your kitchen cabinet, a wobbly pull on a dresser, or a completely snapped handle on your desk, we’re here to walk you through it. Let’s get that drawer working perfectly again.
Why Do Drawer Handles Come Loose Anyway?
Before we grab our tools, let's quickly understand the culprits behind a loose handle. It usually boils down to one of three things:
- Loose Screws: This is the most common cause. Over time, the constant pulling and pushing motion can cause the screws holding the handle to back out slightly.
- Stripped Screw Holes: If the screws have been loose for a while, the threads can wear away the wood inside the drawer front, leaving the screw with nothing to grip. You’ll know this is the issue if the screw just spins in place when you try to tighten it.
- A Broken Handle: The handle itself, especially if it's made of cheaper metal or plastic, can crack or break from wear and tear or a sudden hard pull.
Now that we know what we're looking for, let's figure out what’s going on with your drawer.
Step 1: Assess the Situation – Is it Loose or Broken?
First things first, let’s get a good look at the problem.
Pull the drawer all the way open so you can see both the front and the back of the handle area.
- Give it a Wiggle: Grasp the handle and gently move it back and forth and up and down. How much movement is there? Is it a slight wobble or is it about to fall off completely?
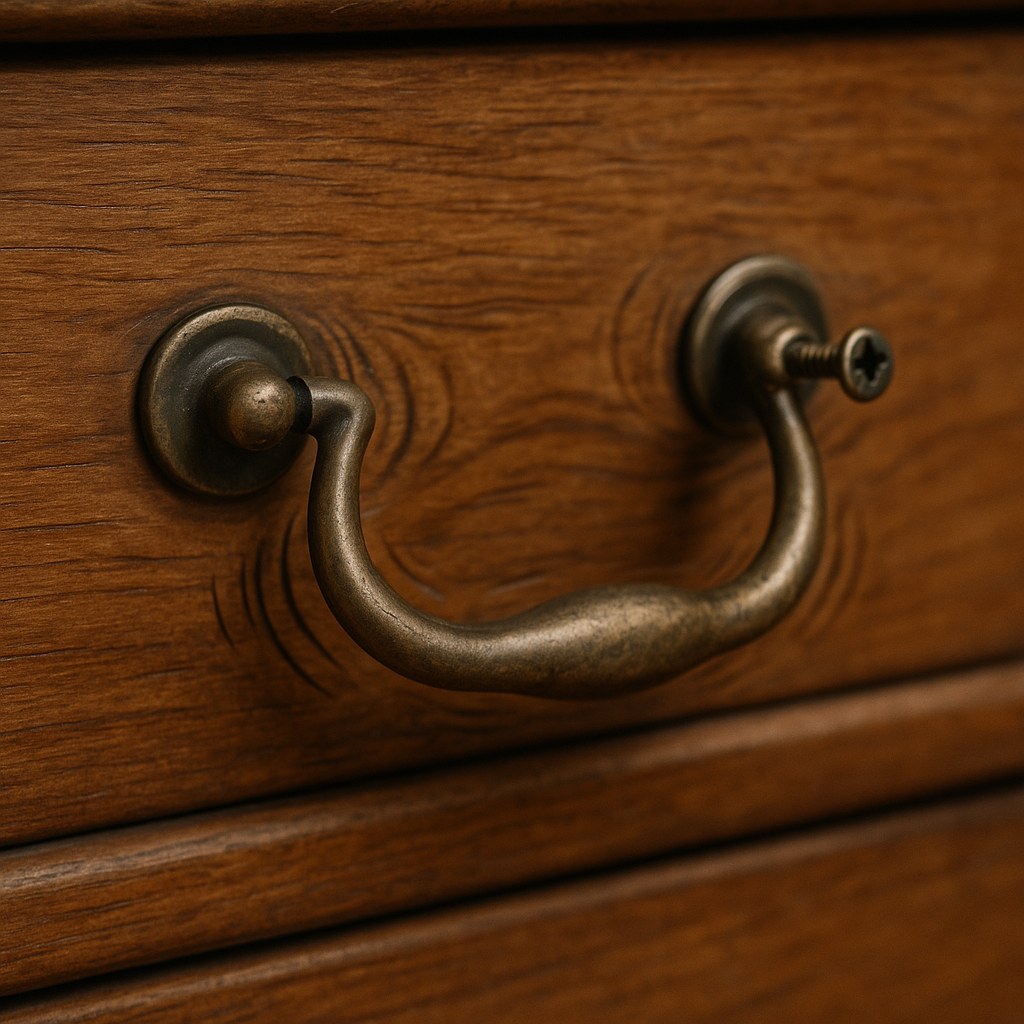
- Inspect the Handle: Look closely for any visible cracks, chips, or missing pieces. A crack near the base where the screws attach is a common point of failure.
- Check for Screws: Look on the inside face of the drawer. You should see one or two screw heads. These are what hold the handle in place. Are they flush with the wood or are they sticking out?
Based on your assessment, you’ll fall into one of two camps: your handle is loose, or your handle is broken. Let’s tackle the easy one first.
Step 2: How to Fix a Loose Drawer Handle
If your handle is wobbly but still in one piece, you're likely just a few turns of a screwdriver away from a fix.
The 5-Minute Fix: Tightening the Screws
This is repair in its simplest form.
What You'll Need:
- A Phillips or flathead screwdriver (match it to the screw heads you see)
- A dry cloth
Instructions:
- Empty the Drawer (If Needed): If there are items blocking your access to the screws inside the drawer, take them out.
- Hold the Handle: With one hand, hold the drawer handle firmly in position on the outside of the drawer. This prevents it from spinning as you tighten the screws from the inside.
- Tighten the Screws: Using your other hand and the appropriate screwdriver, turn each screw clockwise. You should feel it start to bite into the wood and become snug. Tighten it until it's firm, but be careful not to overtighten, as this can strip the wood.
- Test Your Work: Give the handle another wiggle. Is it secure? If so, you're done! Wipe it down with a cloth to clean off any fingerprints, and you’re good to go.
What If the Screw Just Spins? How to Fix a Stripped Screw Hole
Did you try to tighten the screw, but it just kept spinning without getting any tighter? Congratulations, you’ve found a stripped screw hole. This just means the screw threads have worn out the wood, and there's nothing left to grip. Don't worry, this is also a very fixable problem.
What You'll Need:
- Screwdriver
- Wood filler (a small tube is fine) or wooden toothpicks/matchsticks and wood glue.
Instructions:
- Remove the Handle: Unscrew the screws completely and set the handle and screws aside somewhere safe.
- Fill the Hole: Squeeze a small amount of wood filler directly into the stripped hole. Use your fingertip or a small putty knife to press it in, making sure the hole is completely filled. Wipe away any excess from the drawer surface.
- Let It Dry: This is the most important step. You need to let the wood filler harden completely. This usually takes about 15-30 minutes, but check the instructions on the product you’re using.
- Re-attach the Handle: Once the filler is rock solid, place the handle back in position. Drive the screws back into the newly filled holes. The filler will provide a new, solid material for the screw threads to grip. Tighten until snug.
- Check for Security: The handle should now be completely solid and secure.
A Quick DIY Alternative: No wood filler? No problem. Dip a couple of wooden toothpicks or the end of a matchstick (break off the head first!) in some wood glue, insert them into the hole, and break them off flush with the surface. Then, you can drive the screw back in immediately. The wood and glue combo will fill the gap and give the screw something to bite into.
Step 3: How to Replace a Broken Drawer Handle
If your handle is cracked or in pieces, tightening won't do the trick. It’s time for a replacement. This is a great opportunity to update the look of your furniture with new hardware!
Measure Twice, Buy Once
Before you head to the hardware store or browse online, you need one crucial measurement to ensure the new handle fits perfectly.
- Remove the Old Handle: Use your screwdriver to take off the broken handle.
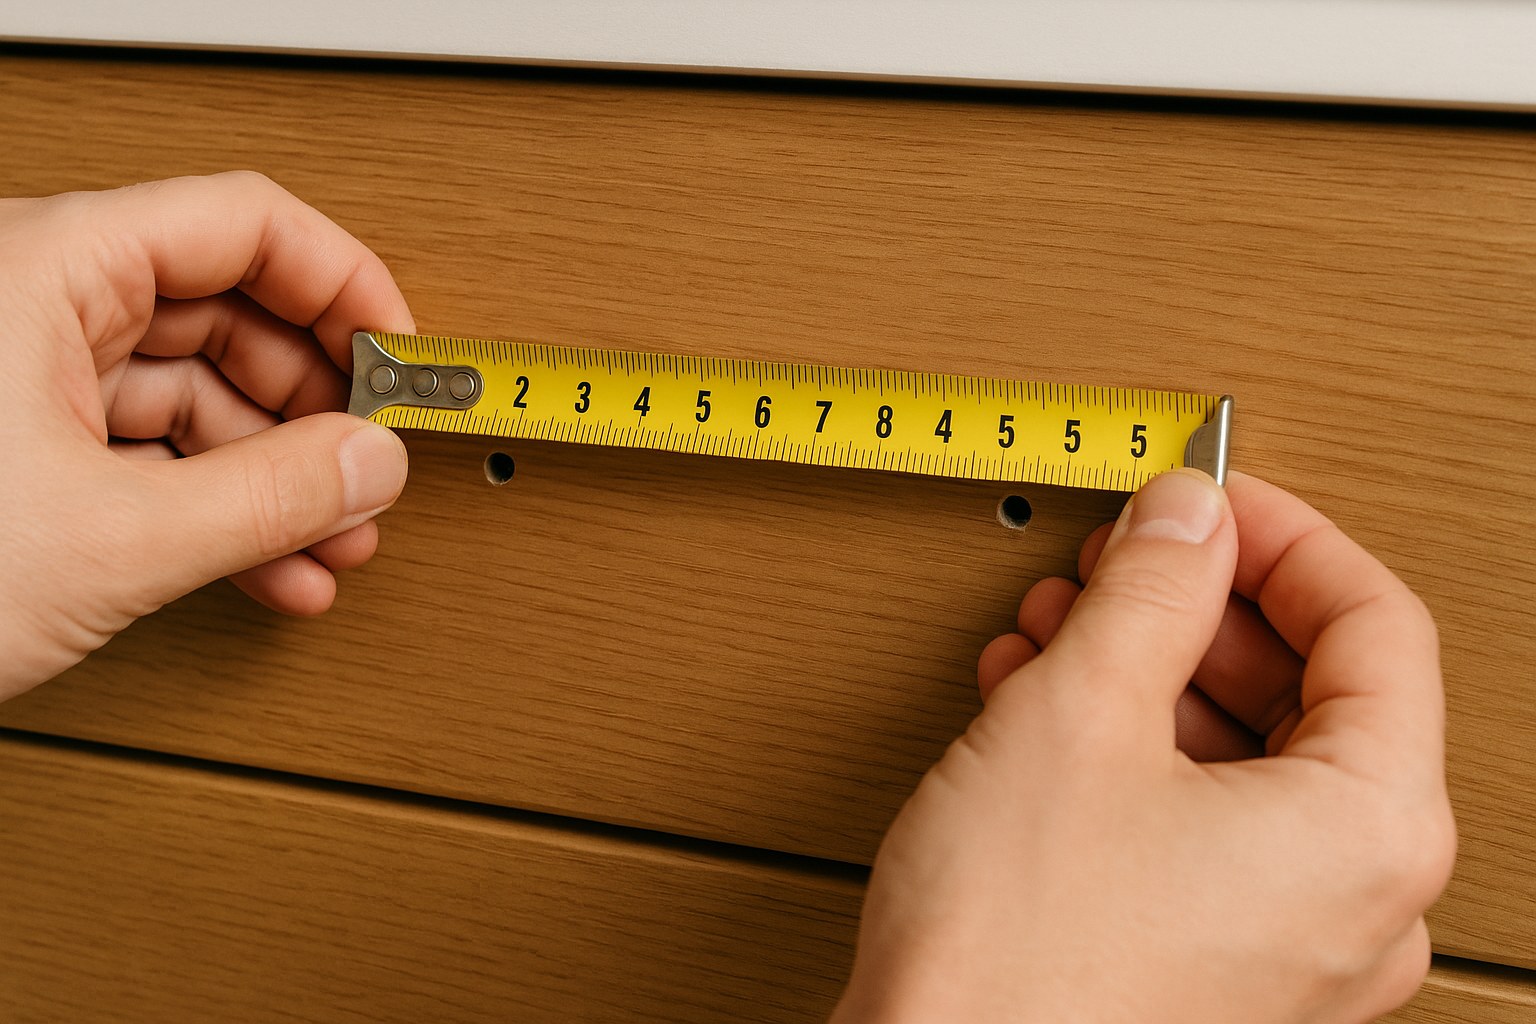
- Measure Center-to-Center: With a tape measure, measure the distance from the center of one screw hole to the center of the other. This is the standard way hardware is measured. Common sizes are 3 inches, 4 inches, and 96mm, but they can vary widely.
- Write It Down: Don't trust your memory. Write down the measurement and take a picture of the drawer with your phone. This will help you find a handle with a matching finish and style.
Installing the New Handle
Once you have your new handle, installation is a breeze.
What You'll Need:
- Your new drawer handle (it should come with its own screws)
- Screwdriver
Instructions:
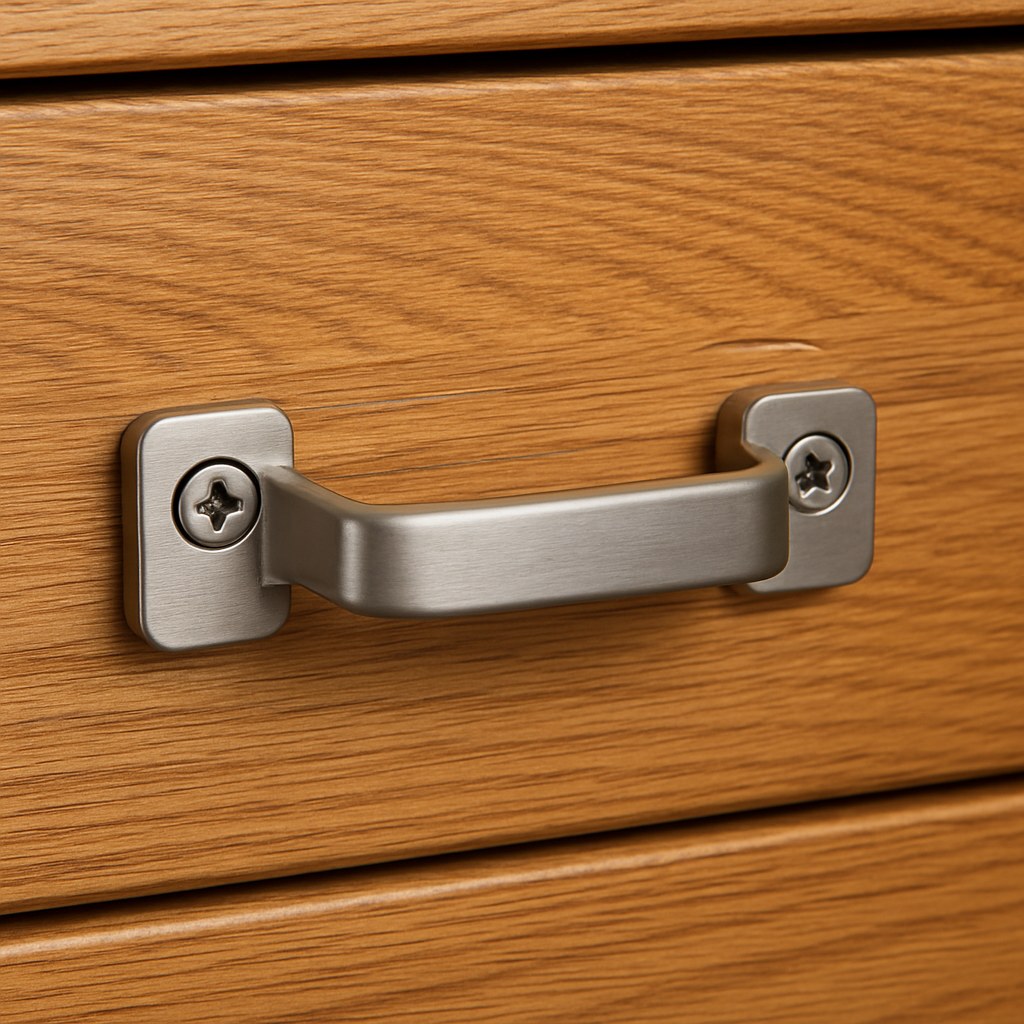
- Align the New Handle: Position the new handle on the front of the drawer, making sure its screw holes line up with the holes in the drawer.
- Insert the Screws: From inside the drawer, insert the new screws through the holes and into the back of the handle.
- Hold and Tighten: Hold the handle in place with one hand and tighten the screws with your screwdriver until they are snug.
- Final Check: Open and close the drawer a few times to make sure the handle feels secure and is aligned straight.
What If There Are No Visible Screws?
Some modern or high-end furniture uses hidden hardware for a sleeker look. If you can't see any screws on the inside of your drawer, don't try to pry the handle off! You could damage the drawer front. These handles are often attached with special bolts, set screws hidden under a decorative cap, or sometimes even strong adhesive. For these cases, we recommend contacting a professional handyman to avoid causing costly damage.
DIY vs. Hiring a Pro: Cost and Time
Fixing a drawer handle is a textbook DIY job that can save you money.
- DIY Cost: If you're just tightening a screw, it's free! For a replacement, a new handle can cost anywhere from $3 to $20+, and a small tube of wood filler is about $5-$10.
- Hiring a Handyman: According to Thumbtack, a handyman typically charges between $60 and $125 per hour, often with a minimum service fee. While they'd get the job done quickly, it’s far more cost-effective to handle this one yourself.
- Time Commitment:
- Tightening: Less than 5 minutes.
- Repairing a stripped hole: About 20-30 minutes (mostly waiting for filler to dry).
- Replacing a handle: About 10 minutes.
Take Control of Your Home Repairs
You did it! That once-wobbly, now-sturdy handle is a testament to your DIY skills. It’s a small fix, but it makes a big difference in how you interact with your home every day. Taking care of these little repairs as they pop up keeps your home in great shape and gives you a sense of accomplishment.
For more easy-to-follow guides on common home maintenance tasks, and for those times when a project is too big to handle alone, download the Casa app. We empower you with the knowledge to tackle DIY projects and connect you with vetted, trusted professionals when you need them. Take the guesswork out of home maintenance and keep your casa in perfect condition.


